
My Home-Lab | Updated Regularly
This Home Lab overview blog post will be continually updated over time.
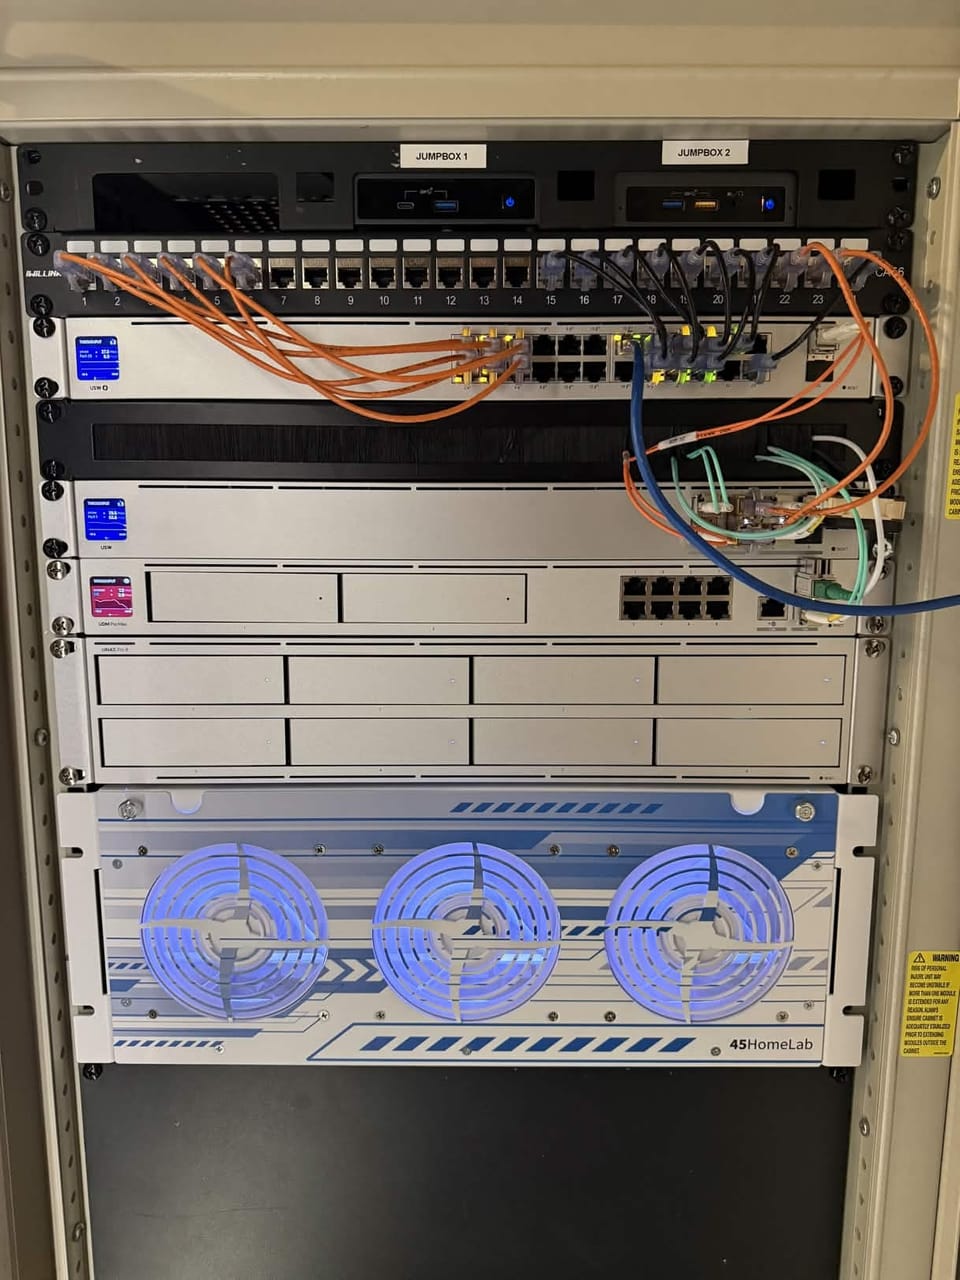
I'll go over what each part of my server does starting from the top of the rack.
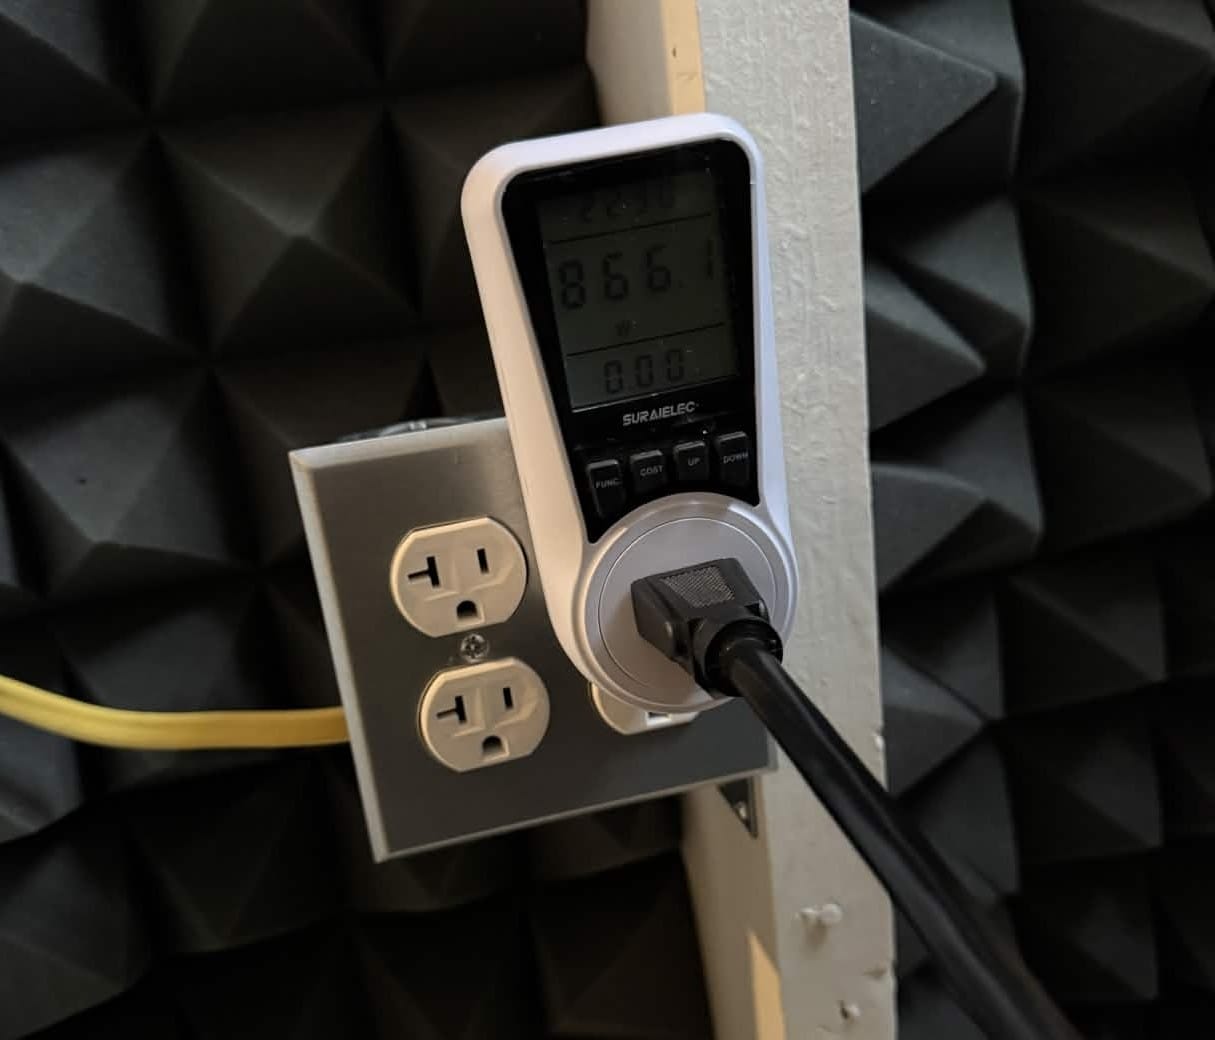
Power:
A dedicated 20 Amp circuit has been ran to my server rack. This is less about power usage but is a consideration. The main reason for the dedicated circuit is for power clarity as not all devices in the rack are behind the APC and the cleaner the power, the better.
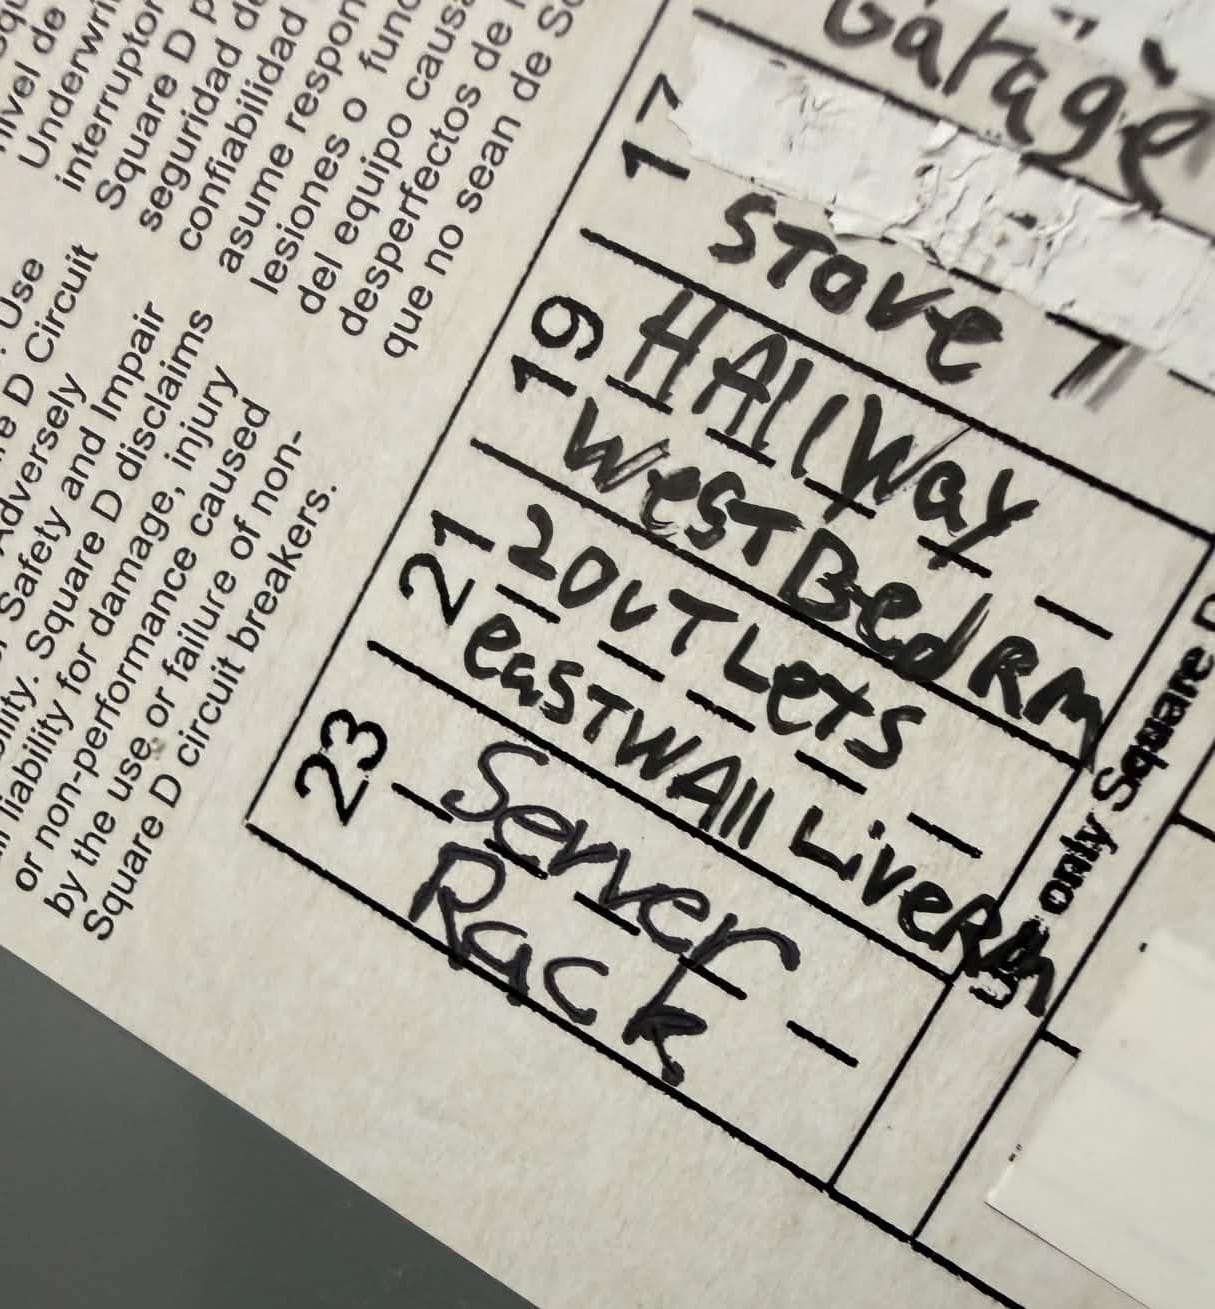
Dedicated 20 Amp circuit for the Server Rack.
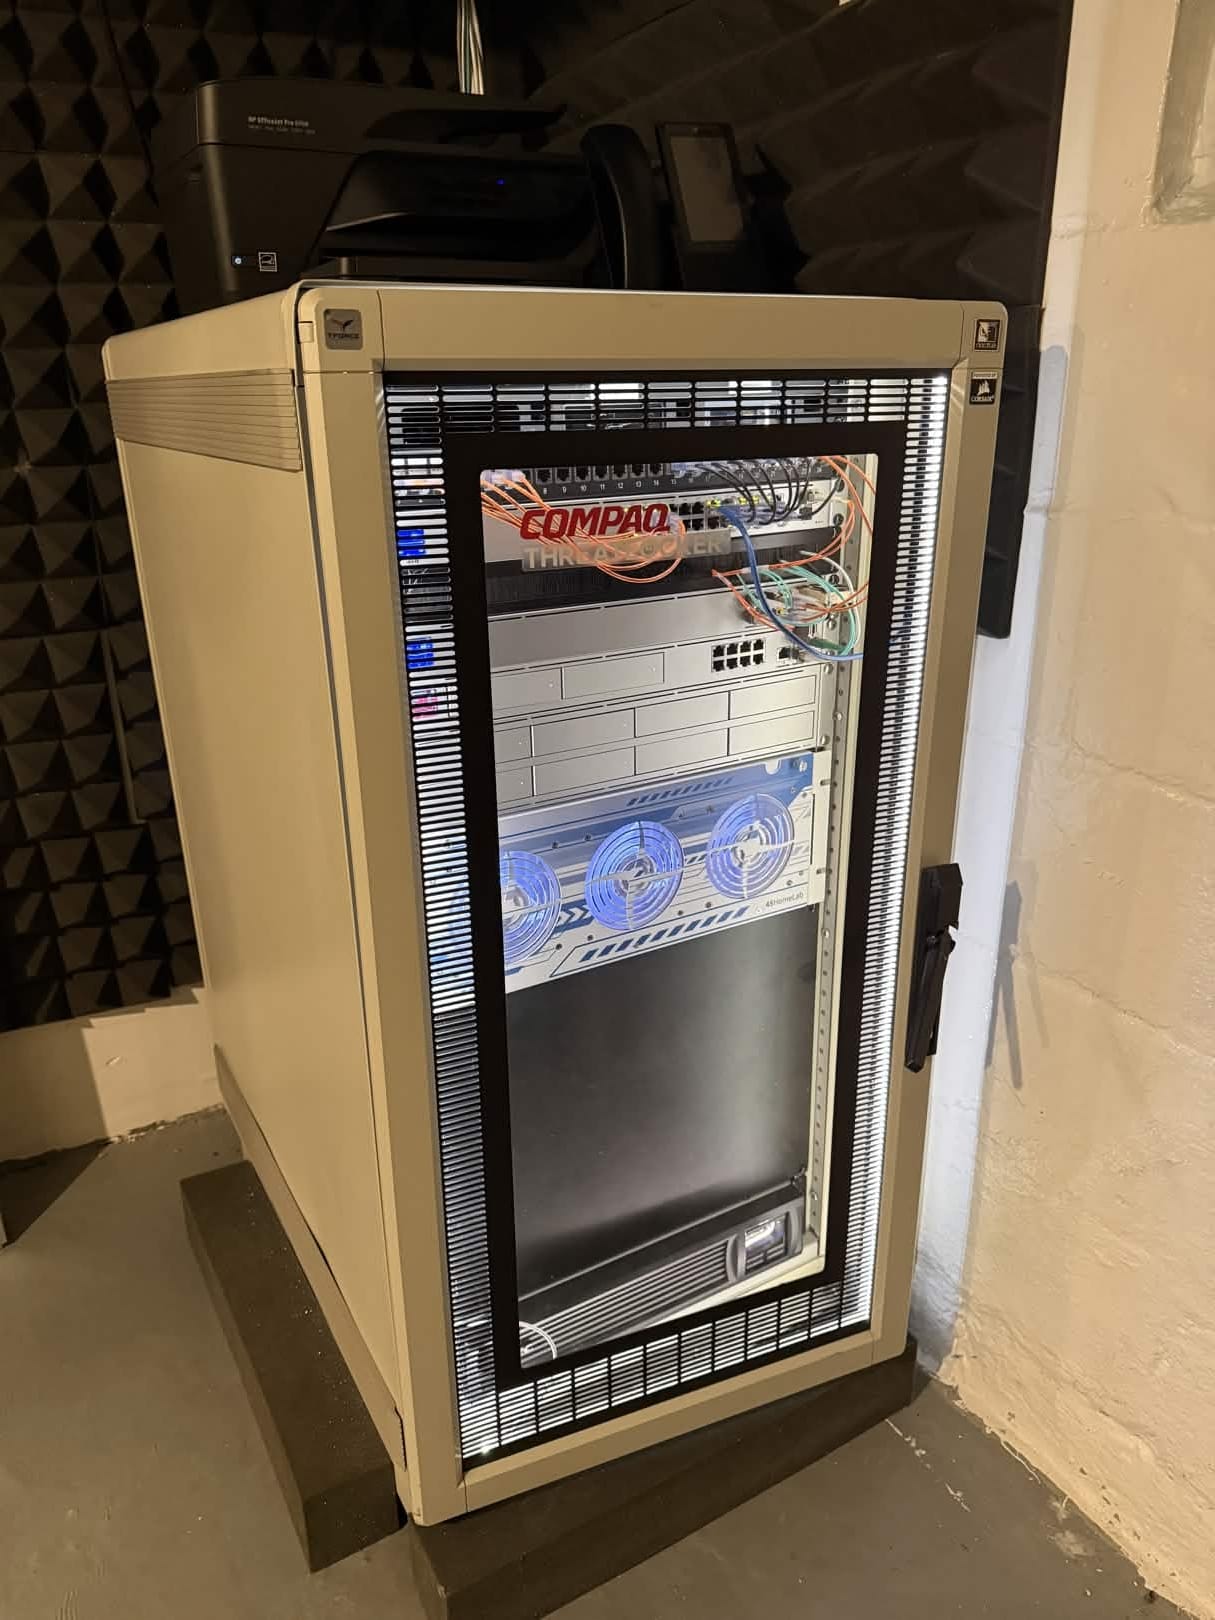
The Rack:
All my server hardware lives inside of an old Compaq Rack 7000. It's been great so far! I was able to find the keys for the latches as well. It's entirely enclosed with a plexiglass front door with vents to pull in fresh air. The rear panel is all metal mesh to allow the hot air to vent. I talk about the rack some more here.
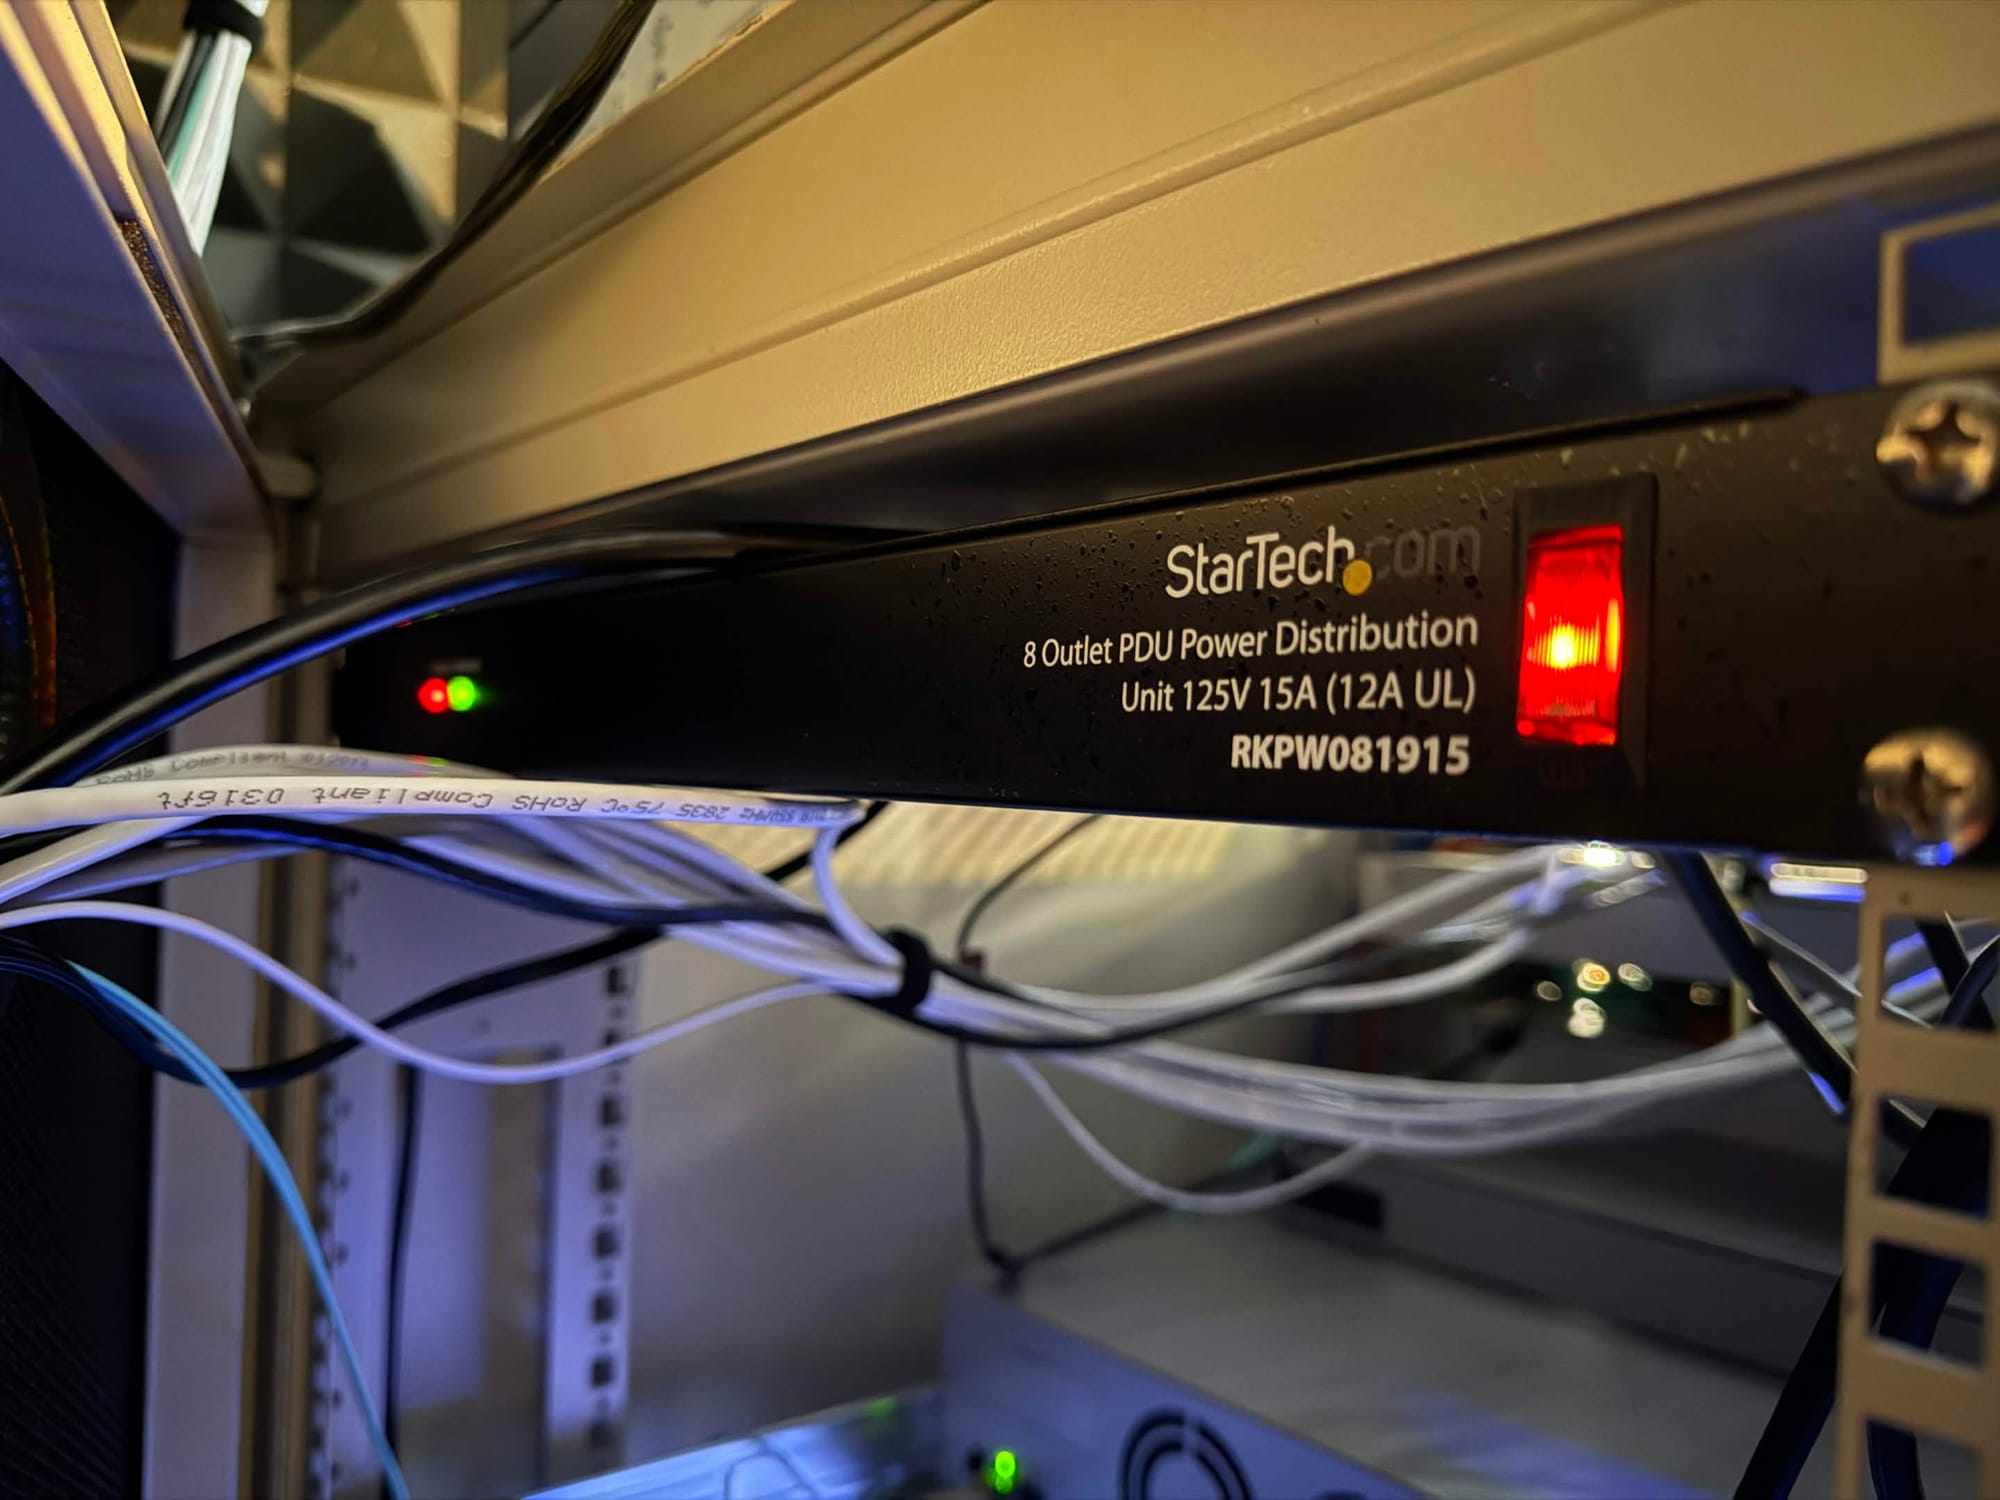
PDU:
Mounted in the rear of my server case is a StarTech 1U PDU. The placement in the rear allows for me to keep cables neat an organized within the inside of the rack. I try to keep power on one side and networking on the other. The PDU is the direct power source to the rack.
Jump Boxes:
At the very top of my rack lives 2 Intel NUCs, mounted with a 1U NUC Rack Mount. These serve as jump boxes to allow me remote management access to my network should I need a backup. I also use this as collaboration PCs if I need to work on a PC at the same time as someone else.
Patch Panel:
The next item on the list is my Cat6 ethernet Patch Panel. This is pretty self-explanatory but it's basically what distributes ethernet to the back of the server and connects everything to the network.
Network Switch: (USW-24-PoE)
While not the most exciting part of the build, this switch does help complete the Unifi buildout and provides in-depth network management within my Unifi system. vLAN management and network policy buildout has never been easer.
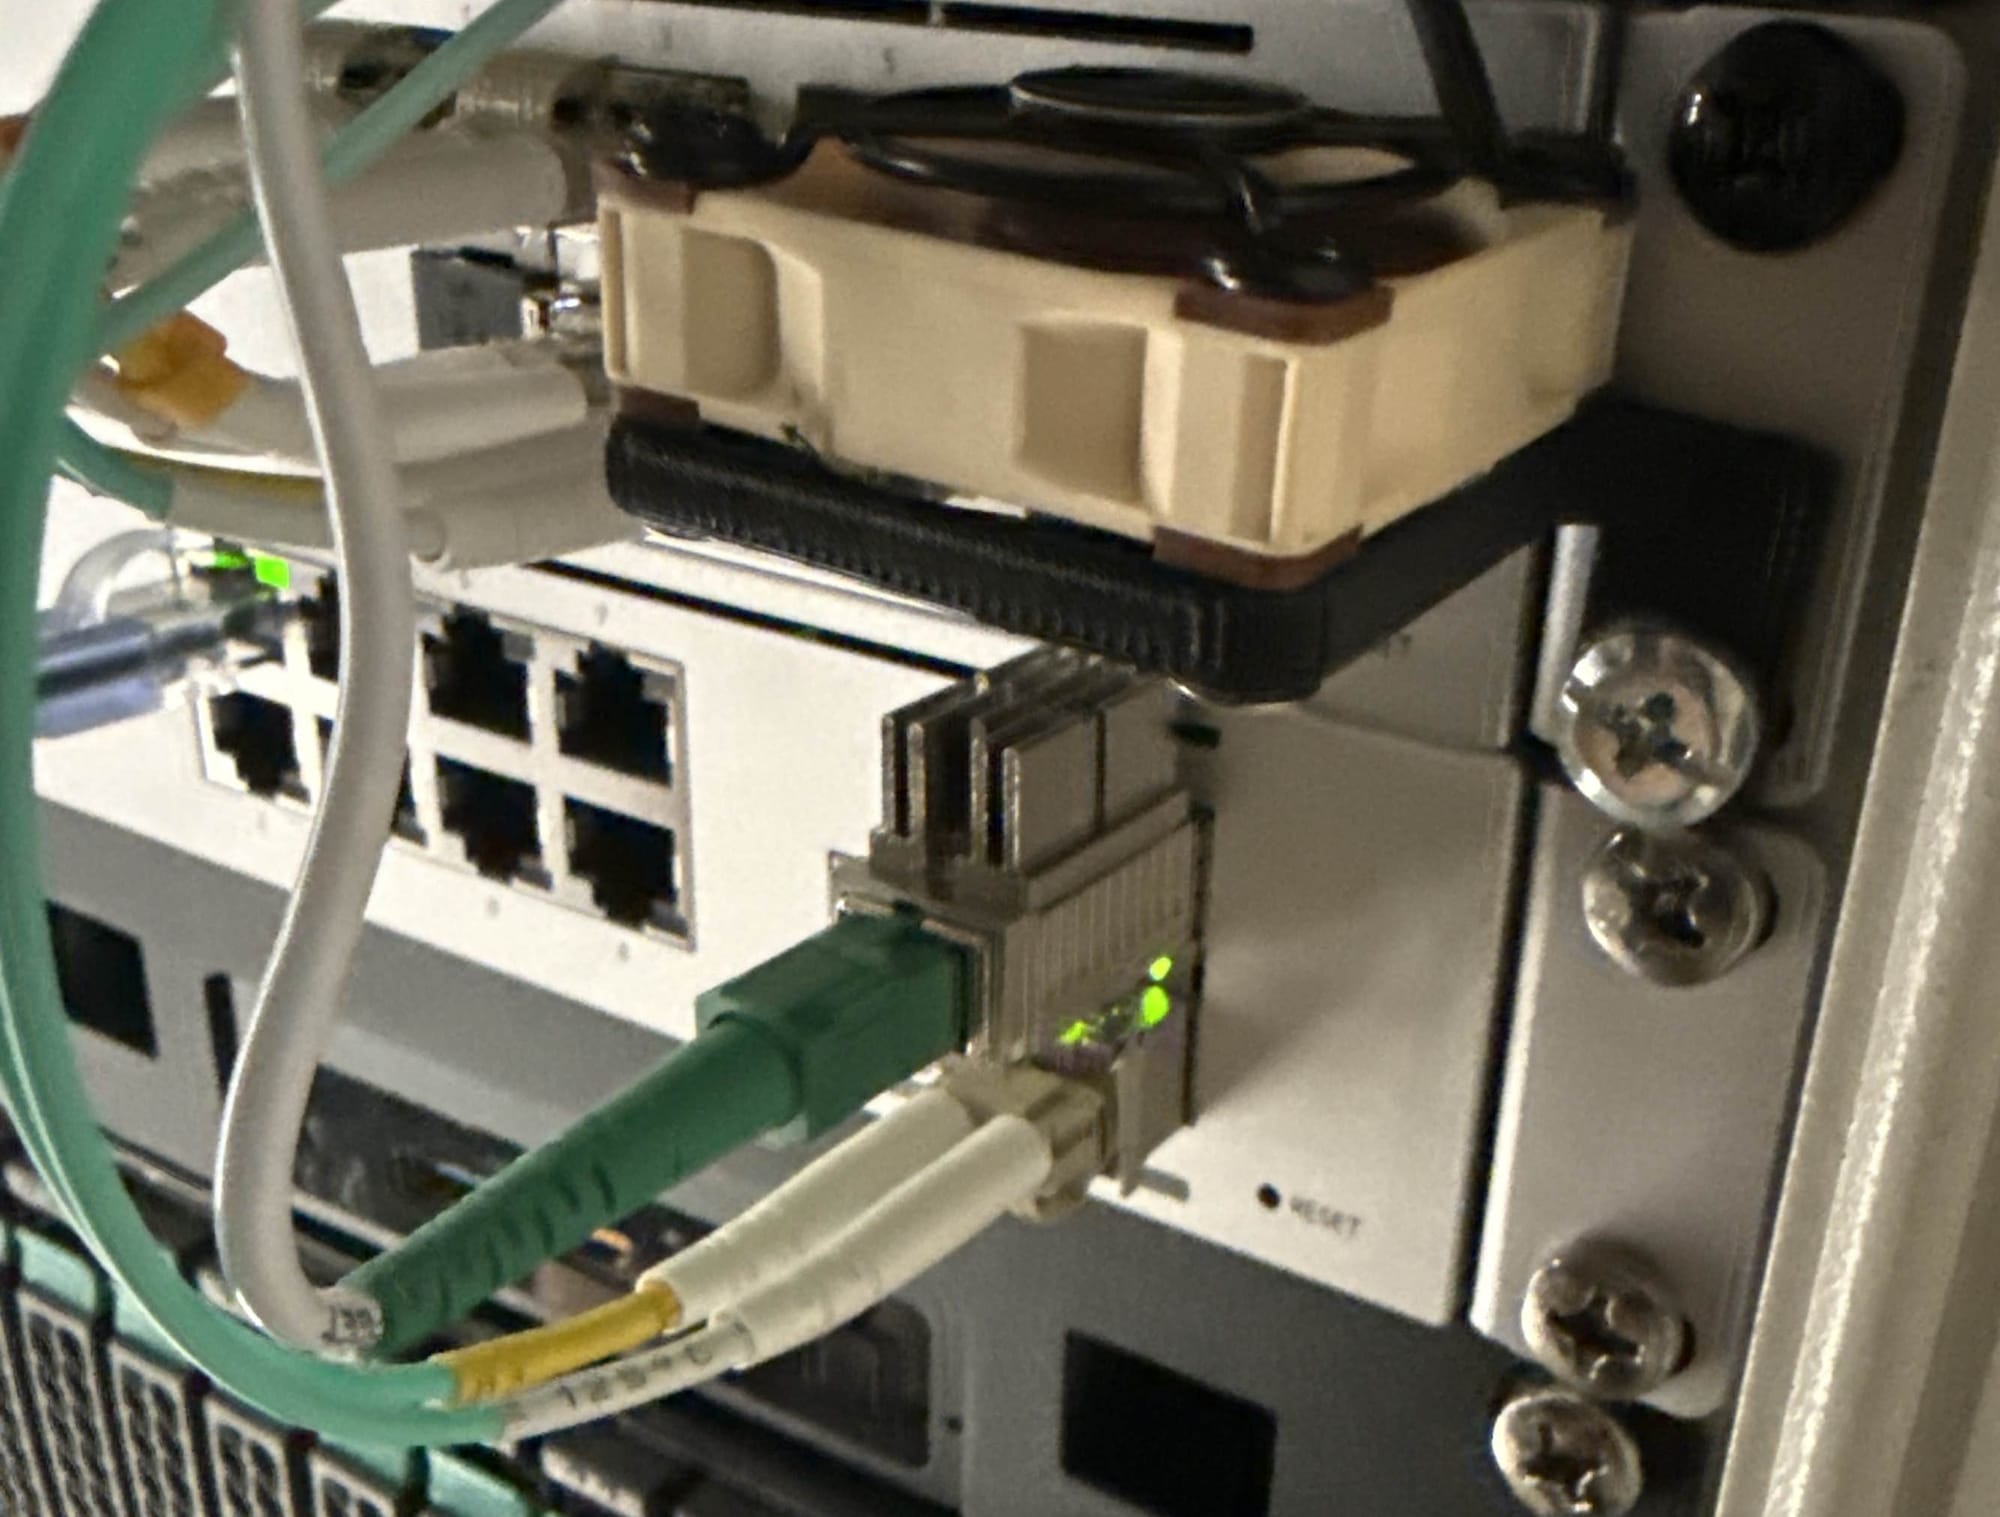
1U Brush:
Next in the rack, and below my network switch is just an organizational 1U brush panel. It's simply there to allow me to route the fiber cables to the back of the server rack.
Unifi Aggregation Switch
As my network and server rack continue to grow, so have the number of devices I want utilizing my multi-gig network. To help I am leveraging the Ubiquiti Unifi Aggregation Switch.
Unifi Dream Machine Pro Max: (Router & Firewall)
I decided to go with the Ubiquiti Dream Machine Pro Max. I choose to use this as it provides quite a few features I was looking for. The PoE is nice for connecting APs directly to it. I also enjoy the 2 HDD slots for RAID protected NVR recording as I do have a few cameras. The Dream Machine also serves a great firewall with many of the recent Network focused updates.
- Network:
- Management of all wireless access points, switches, and networks. Security devices, IoT devices, and server management all live on their own vLAN's. I also utilize the firewall features to secure my network.
- Protect:
- Installed Cameras G5 Bullet, G3 Reader Pro, and G4 Instant are all managed an recorded here.
- Talk:
- My MSP's main phone number is managed here. I also use this for testing in my lab environment before deploying custom Talk deployments to client networks.
- Access:
- I have a door latch installed on both egress points of my house and use Protect to manage my Doors and my G3 Reader Pro. This also integrates with Home Assistant to manage door locking remotely. This is also used as a showcase for clients looking for managed security.
- InnerSpace:
- I use the built in Unifi InnerSpace to make sure my device planning is sufficient. This can include camera coverage as well as AP planning and deployment. Much like Talk and Protect, this is also a great Client Showcase for MSP work.
I also want to highlight my AT&T 2.5 Gigabit fiber to the home connection. I route this directly into my server rack, bypassing the AT&T provided ONT by utilizing a WAS-110 ONT on a Stick, running community firmware.
From a high-level prospective, this works by masquerading as the BGW620-700 ONT provided by AT&T. More information on how this works can be found on the PON dot WIKI. They have guides for many different Fiber Providers, gateways, and ONTs.
As an ex-pfSense user - I can see why someone may not want to use Unifi as the main gateway and firewall for a network. These engineers paid a lot for their CCAr and CCIE education and need a way to justify it. Don't let this hurt your feelings. However, I have yet to see any serious features modern Unifi does not provide that could not allow this hardware to be scaled to massive commercial applications. Reducing overhead cost, management, and complexity: this should be the #1 recommendation from prosumers to enterprising environments. Watch out data centers.
UNAS Pro 8: (NAS Server)
The UNAS Pro 8 from Ubiquiti is an amazing appliance and I am looking forward to future software updates as they keep pushing to make these devices competitive in the commercial space. The UNAS services as my main storage appliance as I have it filled!
- Cache Drives: [RAID1]
- (2x) Crucial P310 Gen 4 1Tb NVMe Drives
- Storage Drives : [RAID5]
- (8x) WD Ultrastar 14TB 7200 RPM HDDs
There are 3 features I'd like to highlight on the UNAS Pro 8:
I cannot believe how easy it is to deploy users to this server with the user management. Forget ACLs, complex user management, and overly complex file permissions. Unifi went above and beyond to make sure this is as easy as possible and that any user can safely provision user access to files.
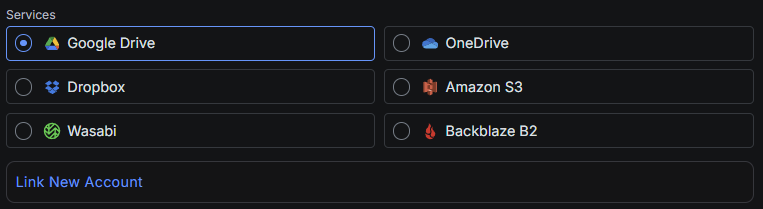
One of the most important features to me is data backup. The UNAS devices support remote NAS replication AND remote storage options such as Wasabi and BackBlaze, pushing this appliance to compete within the commercial space. In the latest update they also provide local "Protected Cloud Backup" so you can secure your Azure environment as well!
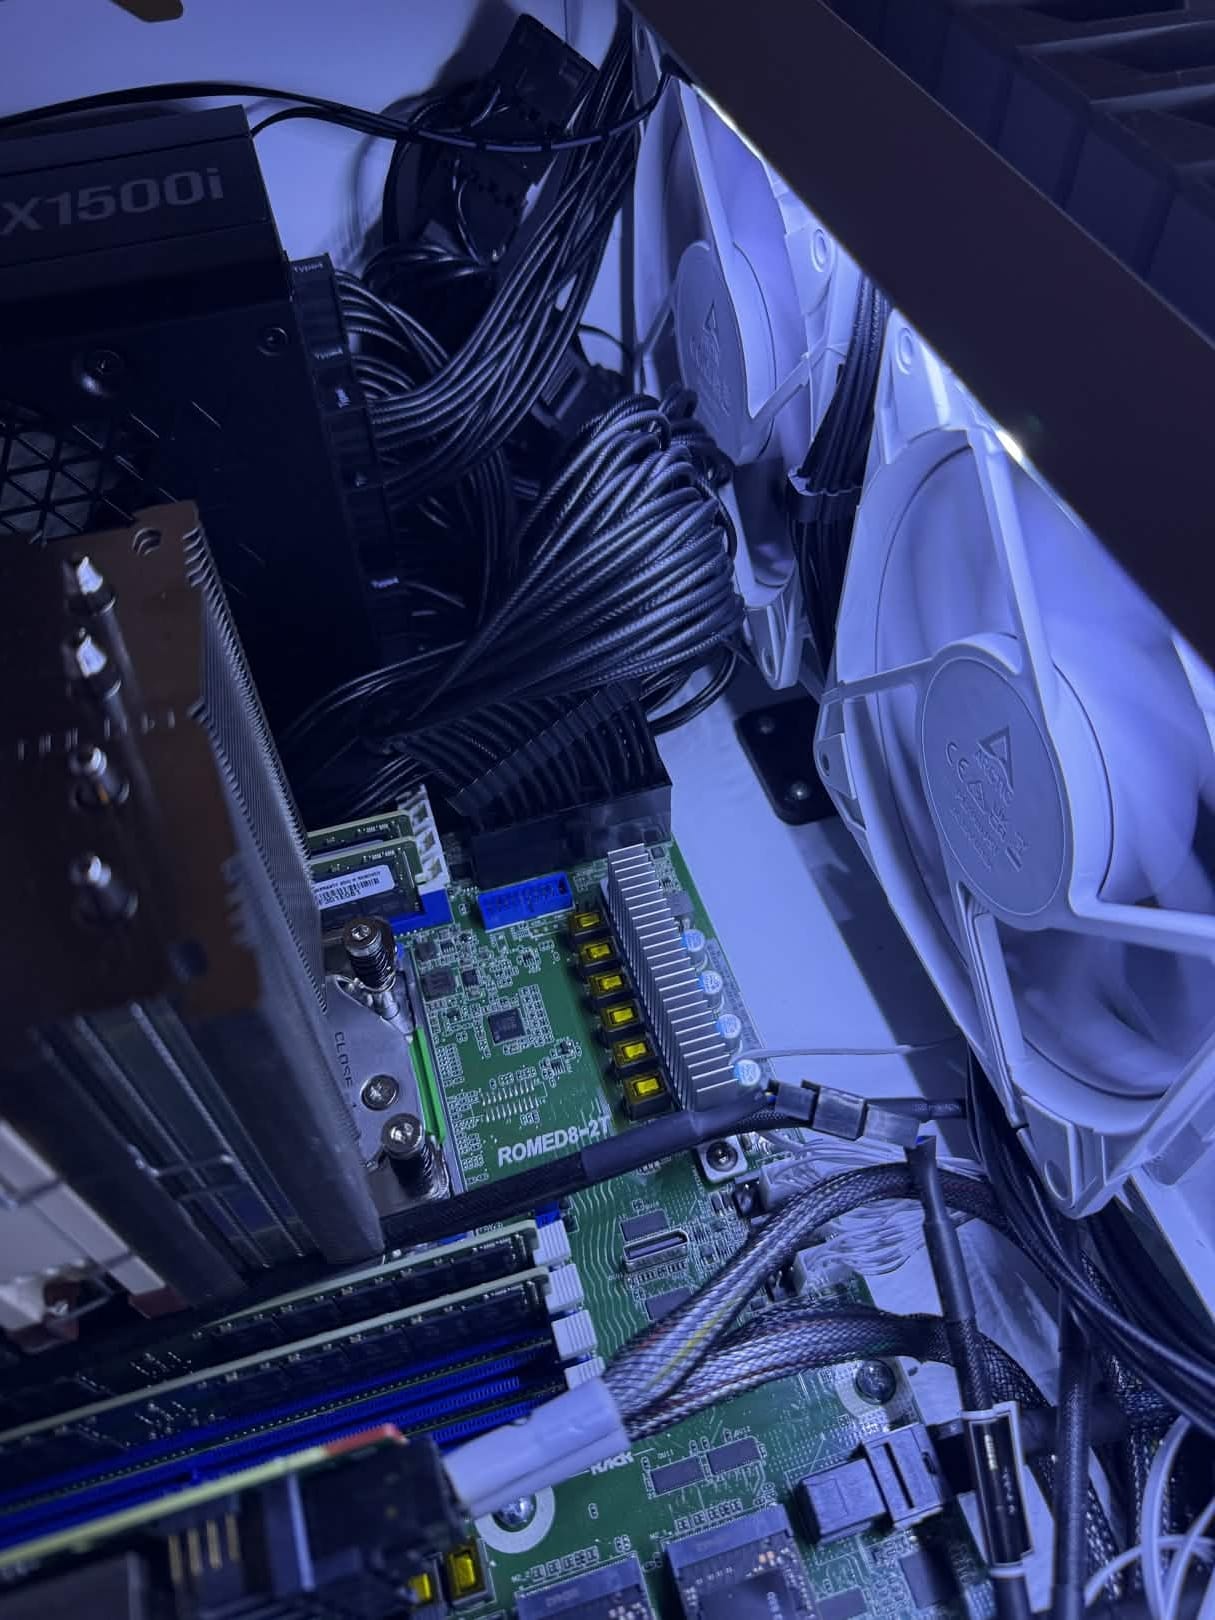
HL15 Server: (GPU & Compute)
Next up is my main Proxmox server featuring the HL15 chassis from 45Drives.

- CPU: AMD EPYC 7742 64-Core
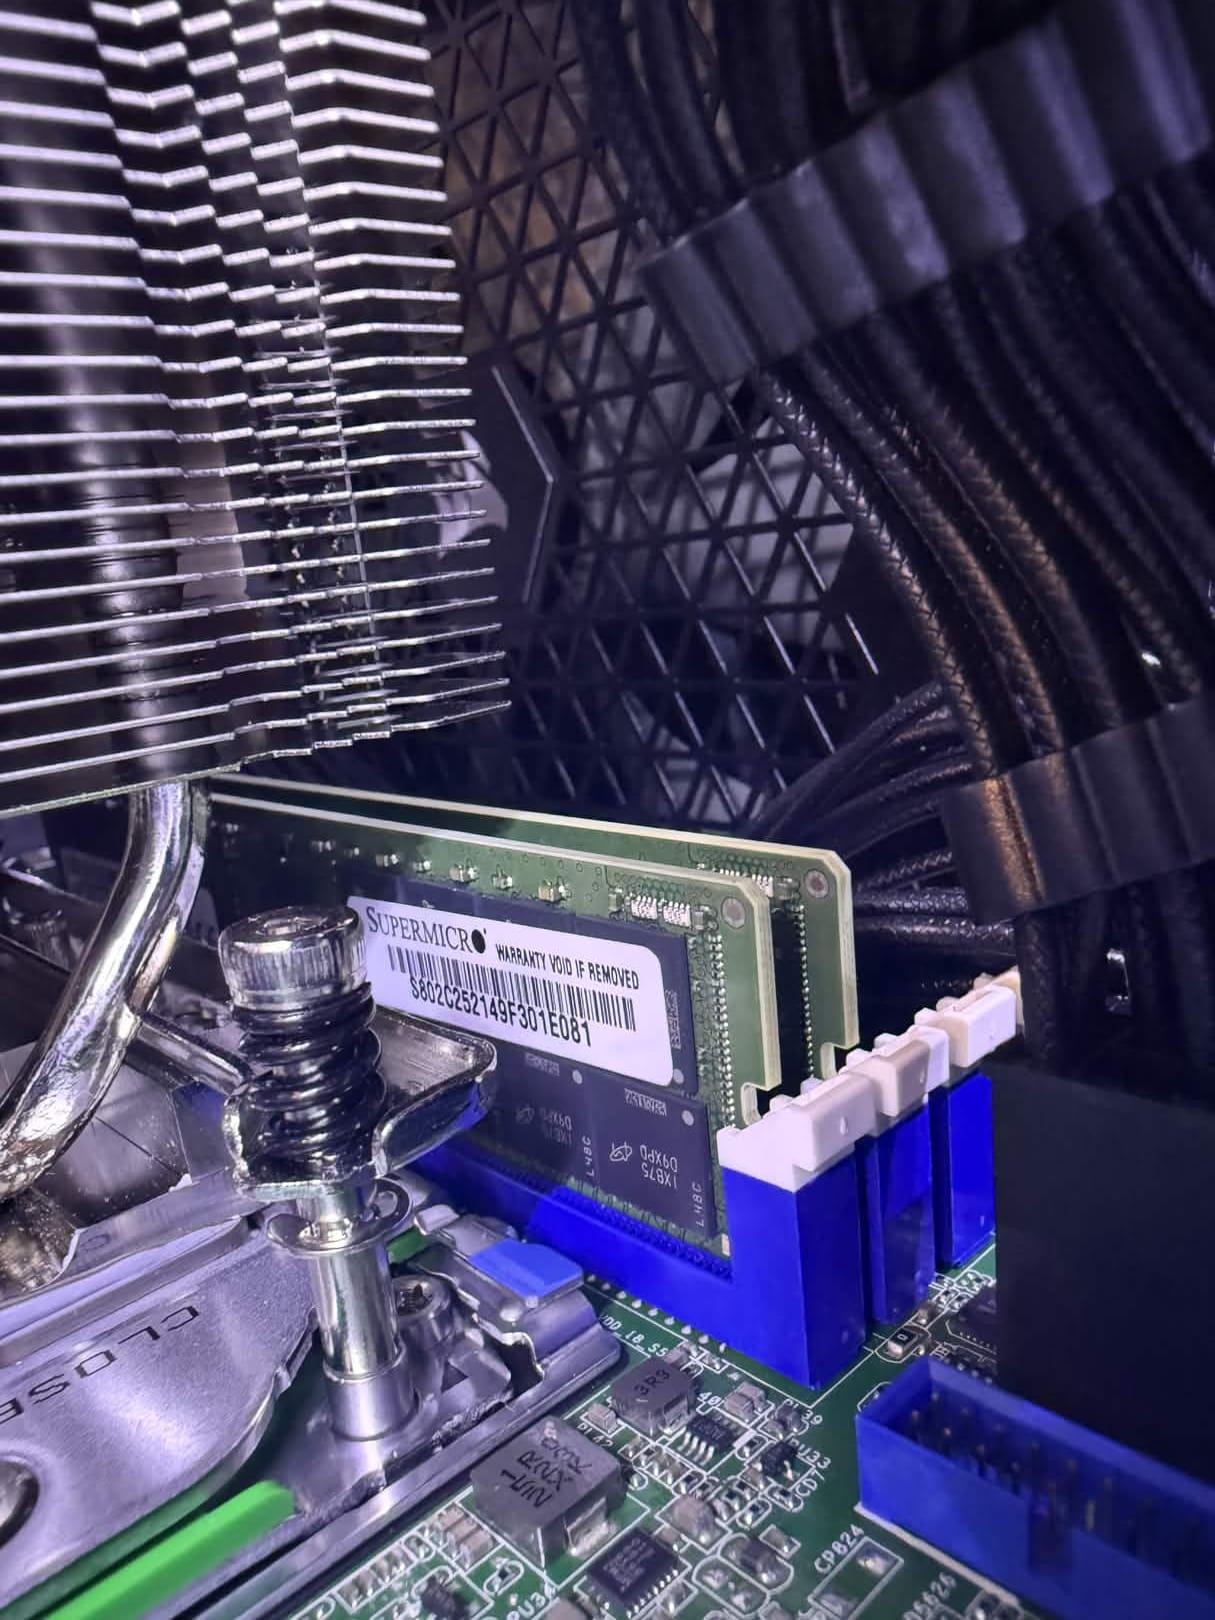
- RAM [256GB]: (4x) Micron/Supermicro 64GB DDR4 3200MHz RDIMM ECC
- Motherboard: AsRock Rack ROMED8-2T
- GPU 1: Modified Nvidia RTX 4090 w/48GB VRAM
- LLM & Inference Workloads
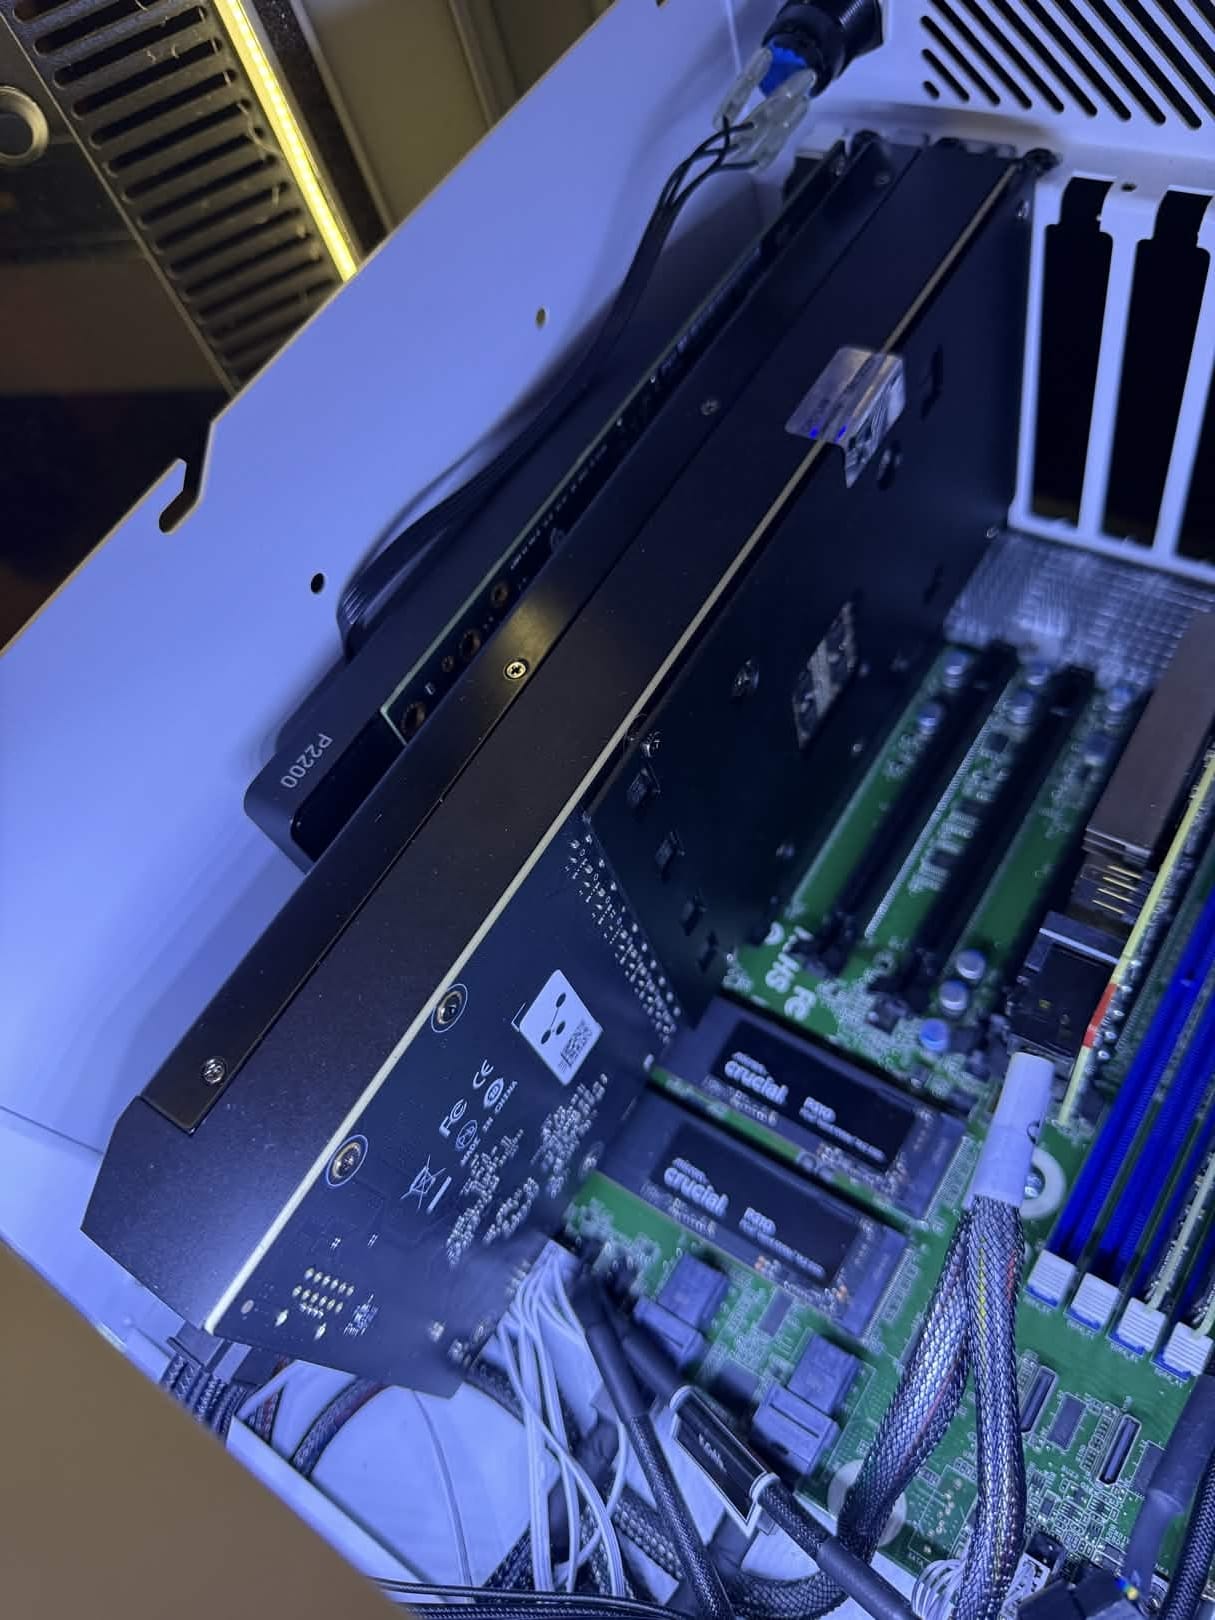
- GPU 2: Nvidia Quadro P2200
- Encode/Decode workloads
- Storage:
- Boot Storage: (1x) 256GB Micron SATA SSDs
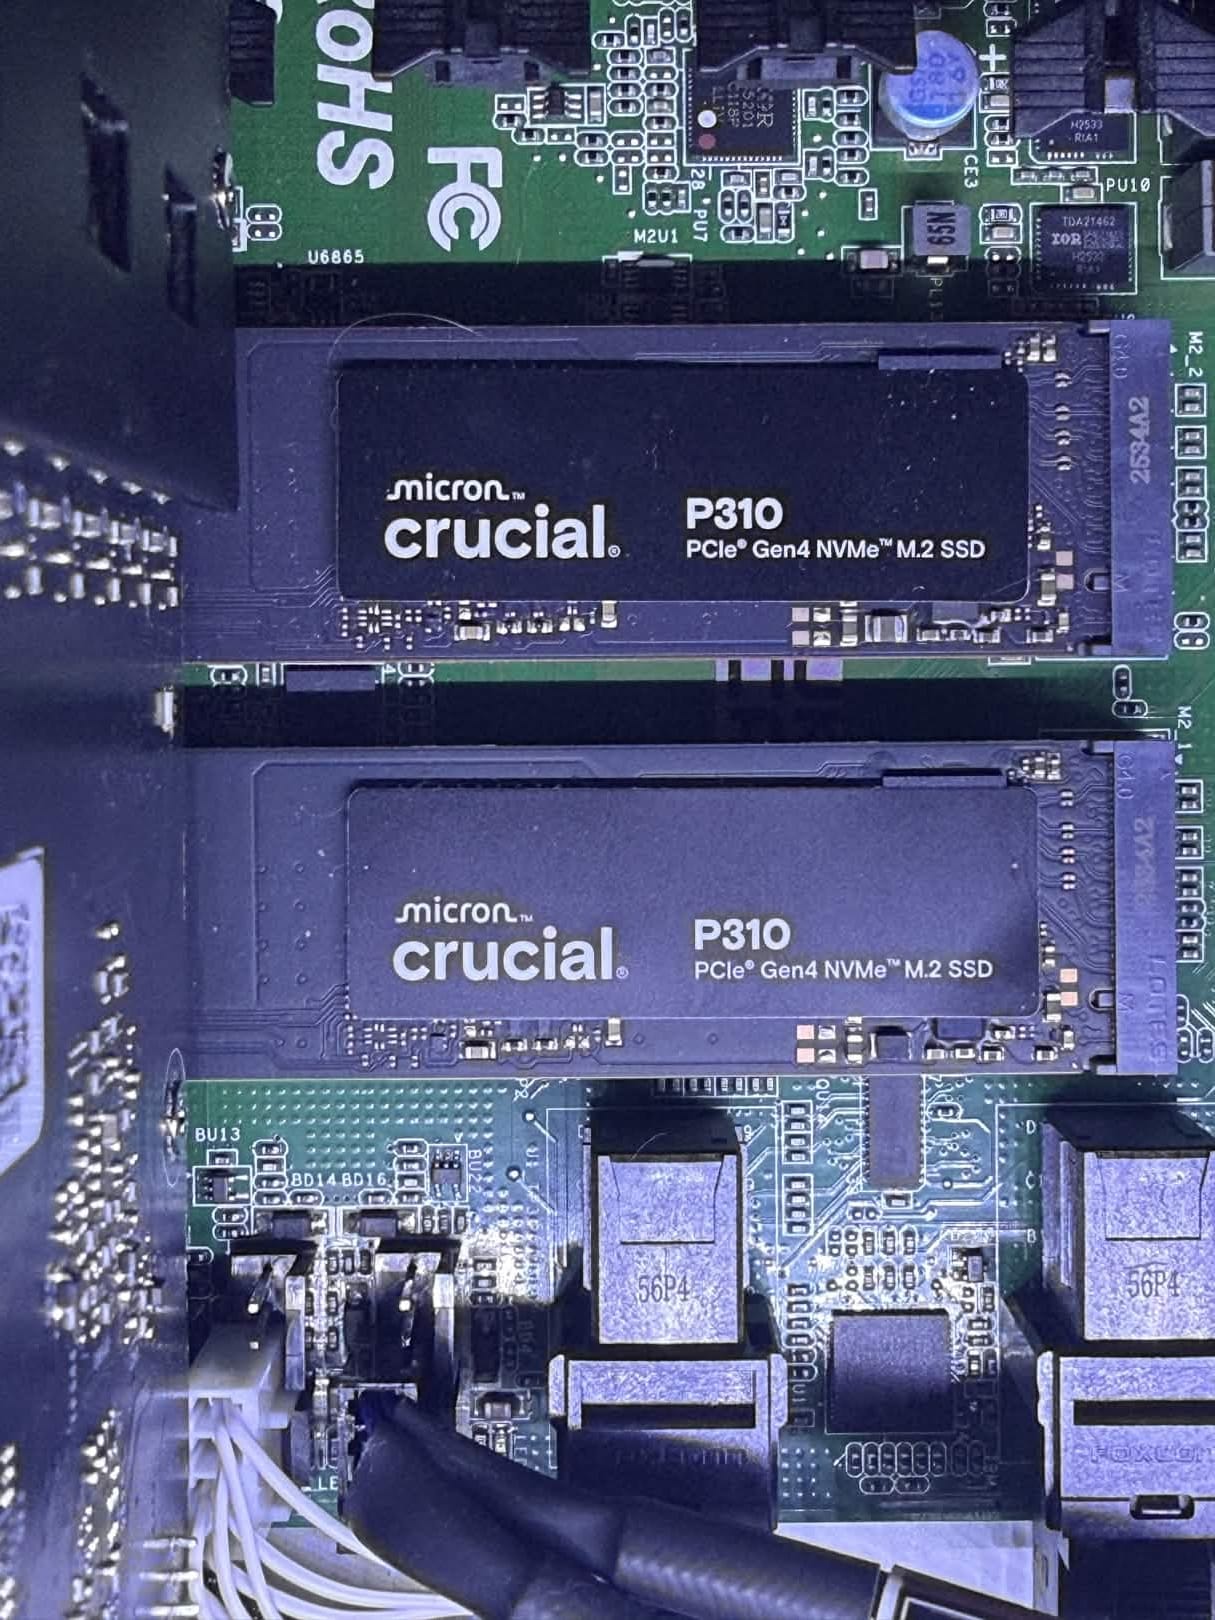
- Hot Storage: (2x) 1TB Gen 4 Crucial P310 NVMe
- VM Storage: (15x) 1TB Micron SATA SSDs
There are a few things I'd like to highlight on this build. The first and most obvious is the 48GB Nvidia 4090 that's featured in this build.
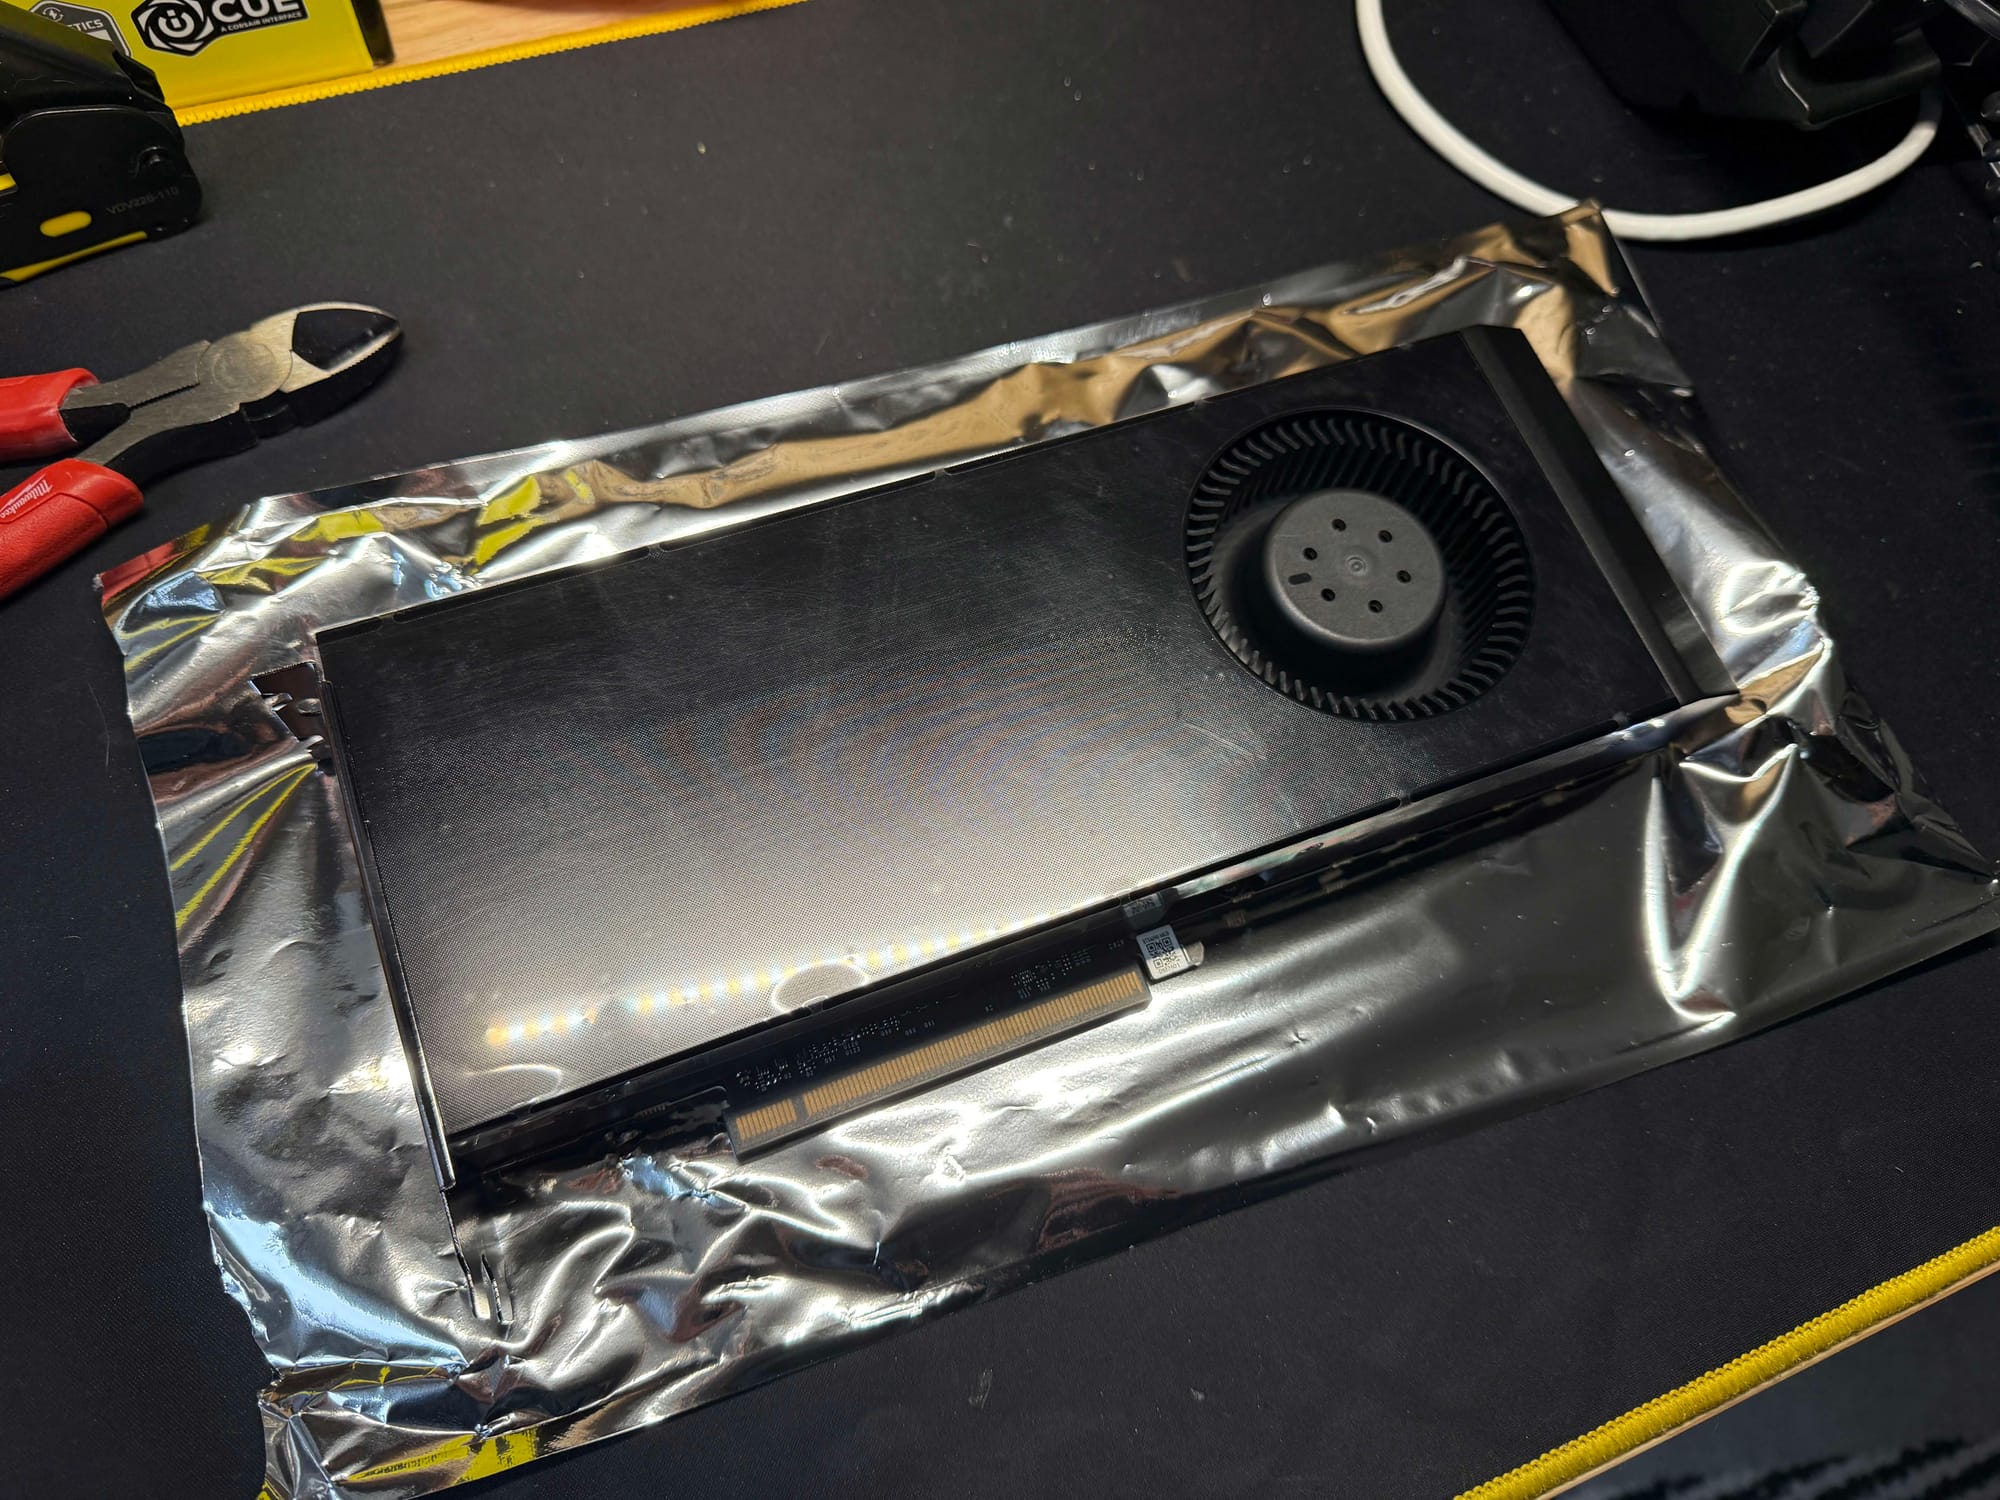

Images of the Modified 48GB Nvidia 4090 from GPvLab
This GPU is a custom, modified Nvidia 4090 modified and built by GPvLab. Cutting their teeth on repairing broken GPUs and other BGA electronics, Greg is one of very few supplies of these cards within the United States. While still using the Chinese created PCB boards, Greg ships the fully leaded 4090s, whereas the China direct cards are of the "D" variant - a dialed down version specially created for the Chinese market due to US Government export regulations. In depth performance measurement of these cards can be found here. While still expensive at $3,500 USD (03/16/2026), GPvLab's 4090's prove to be one of the most affordable, high-density vRAM GPUs obtainable to consumers at this time as these are true, 2 PCI slot width cards featuring their own blower fan and cooler. If you are interested in learning more about these cards and Greg Sky from GPvLab, he has a Youtube Channel showcasing the process of building these cards.
The second highlight is the modifications required to fit this level of hardware in the Version 1 HL15 from 45Drives. I have covered my thoughts of this server chassis in a different post. Since obtaining this HL15 Chassis, 45Drives has since released the HL15 Beast. At 1U taller and MUCH deeper this would circumvent many of the issues I ran into. However, the bigger chassis comes with a much bigger price at almost $1,600 USD w/out shipping or import fees. I sought to outfit my HL15 with high density GPU and CPU compute in the original footprint to maximize my density.
In order to achieve this, I was required to modify my backplane to delete the Power Midplane (Sorry Mark Hooper). With the larger power requirements (4090 + EPYC) I will be running a 1,500 Watt PSU for now. This will be upgraded to a 2,000 Watt PSU as I plan on adding more than one 4090 to this build. I will also need to run 240v mains to the server rack as well. These are typically a lot deeper than was was originally intended to be in the HL15 Chassis, thus the Power Midplane was now in the way.
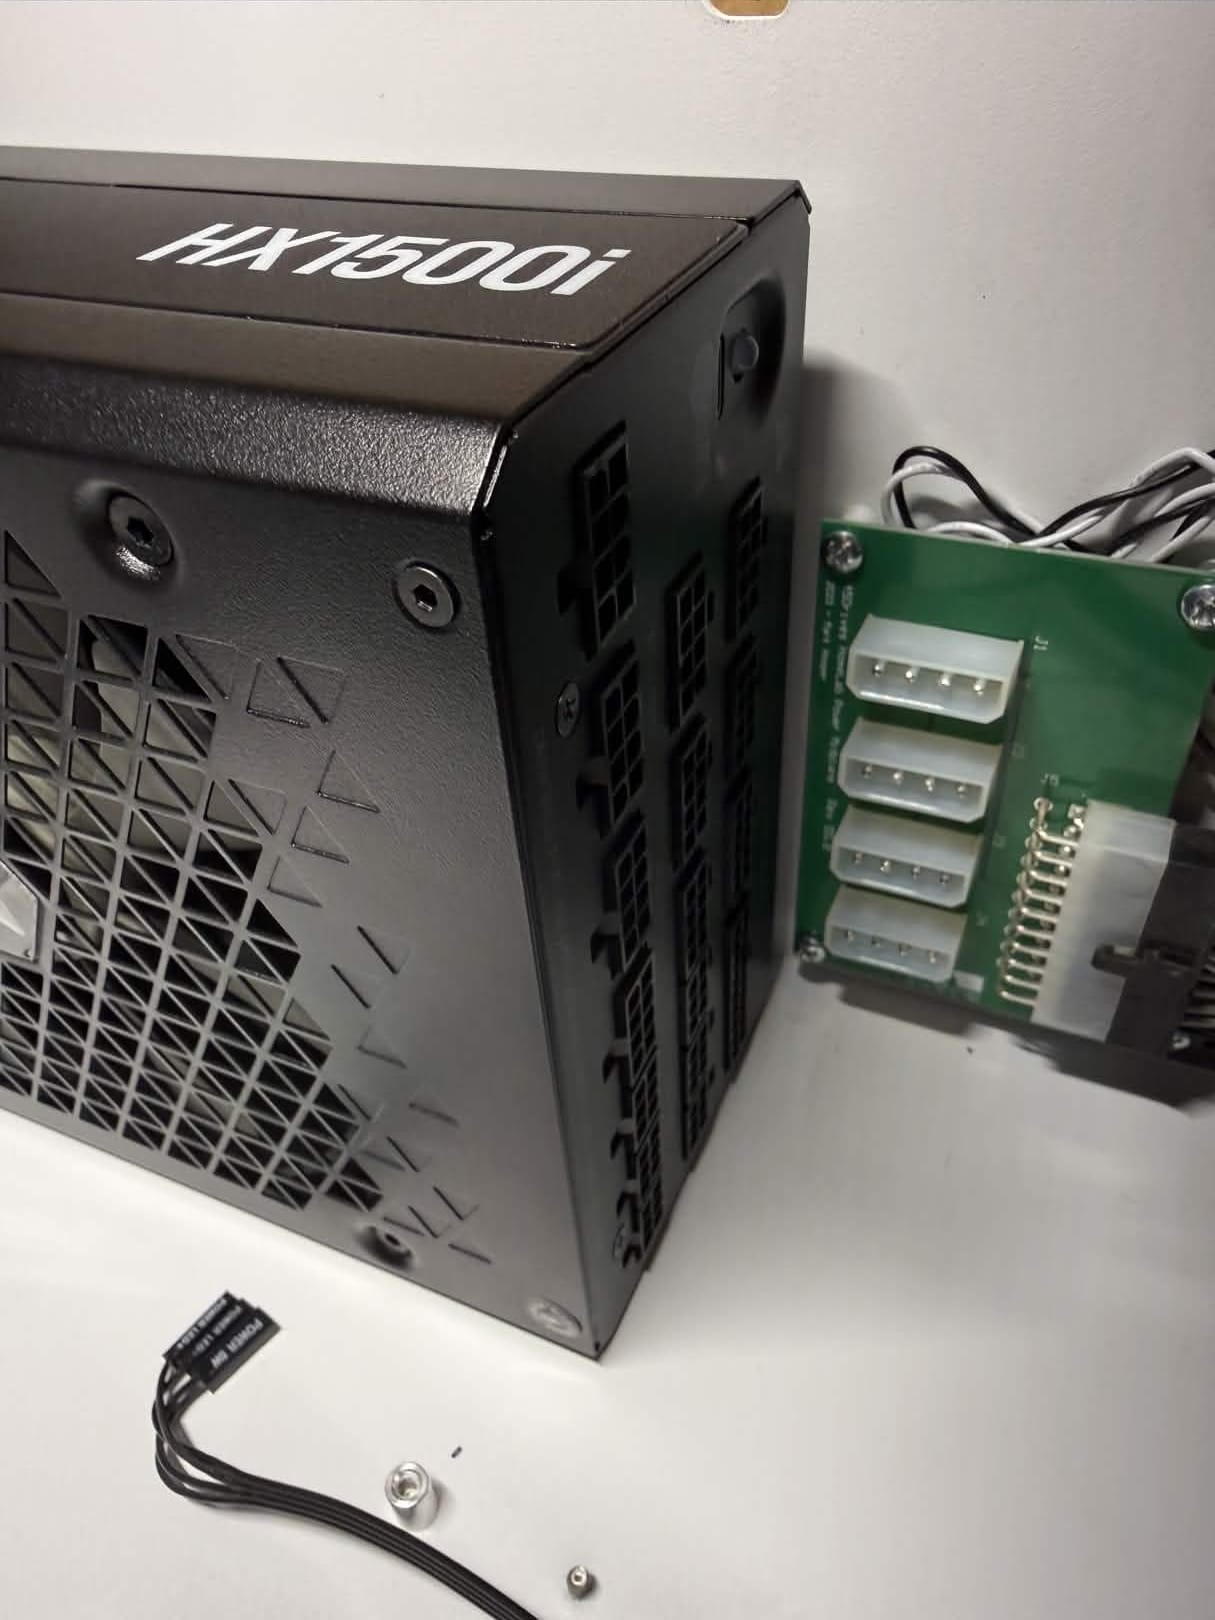
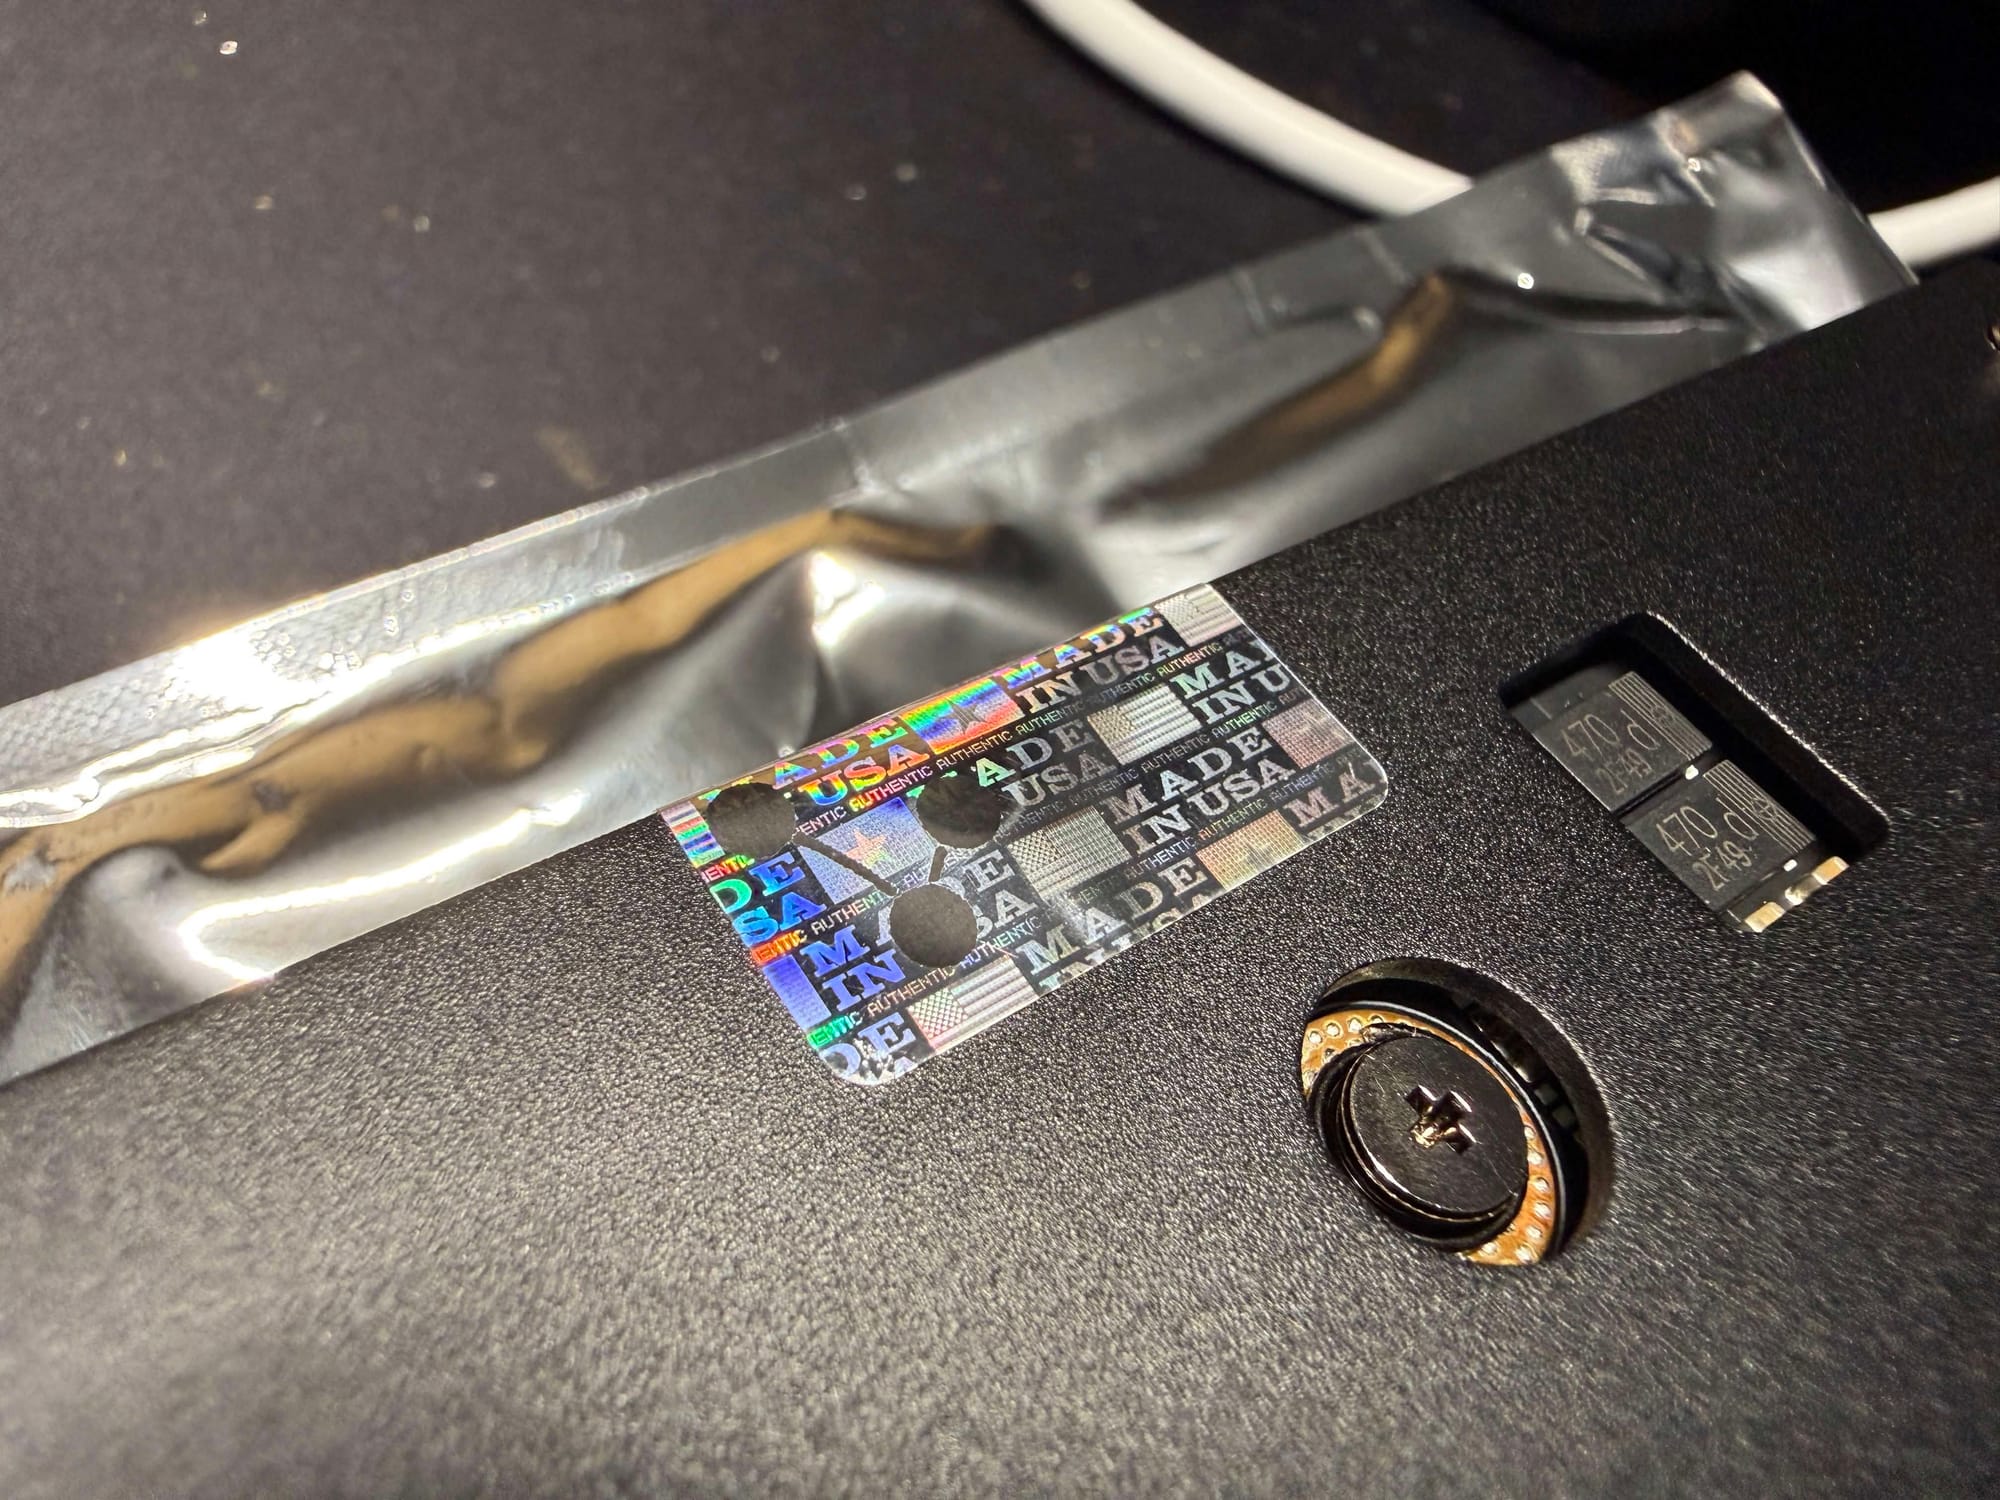
The best solution I determined was following in Techno Tim's idea of powering the backplane directly. I took a slightly different approach to this by re-using the 90° Molex connectors already on the backplane and simply cutting the wires at the 24-pin power connector and re-pinning from there.
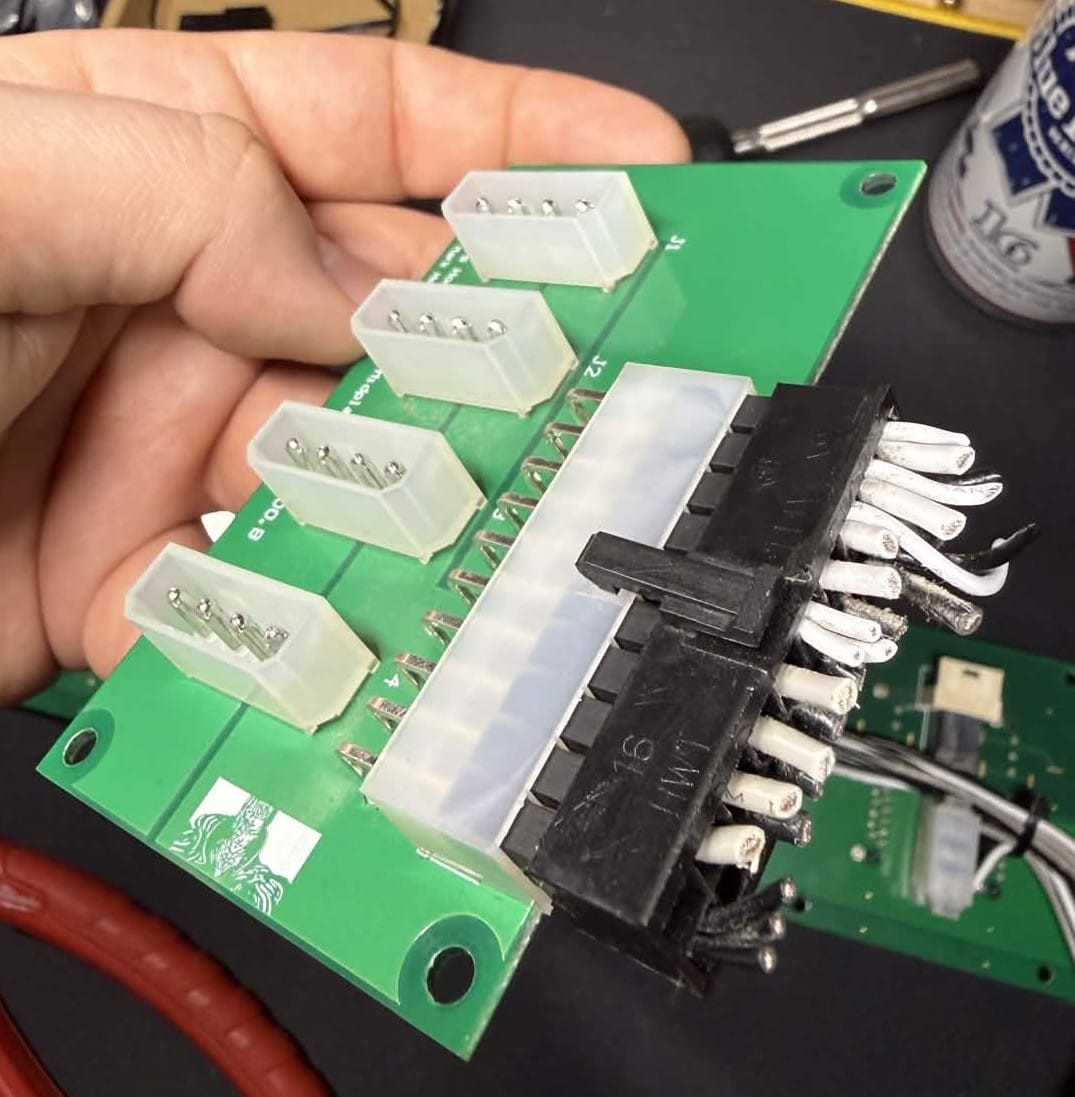
Re-pinning was not that difficult with the right tools. For $15.99 on Amazon, I was able to obtain a Wire Crimping tool designed for terminal connectors, such as those used on Molex connectors. With some new Molex ends and pins, some pinout info from the HL15 Forms, I had re-wired the backplane for direct power and have eliminated the Power Midplane.
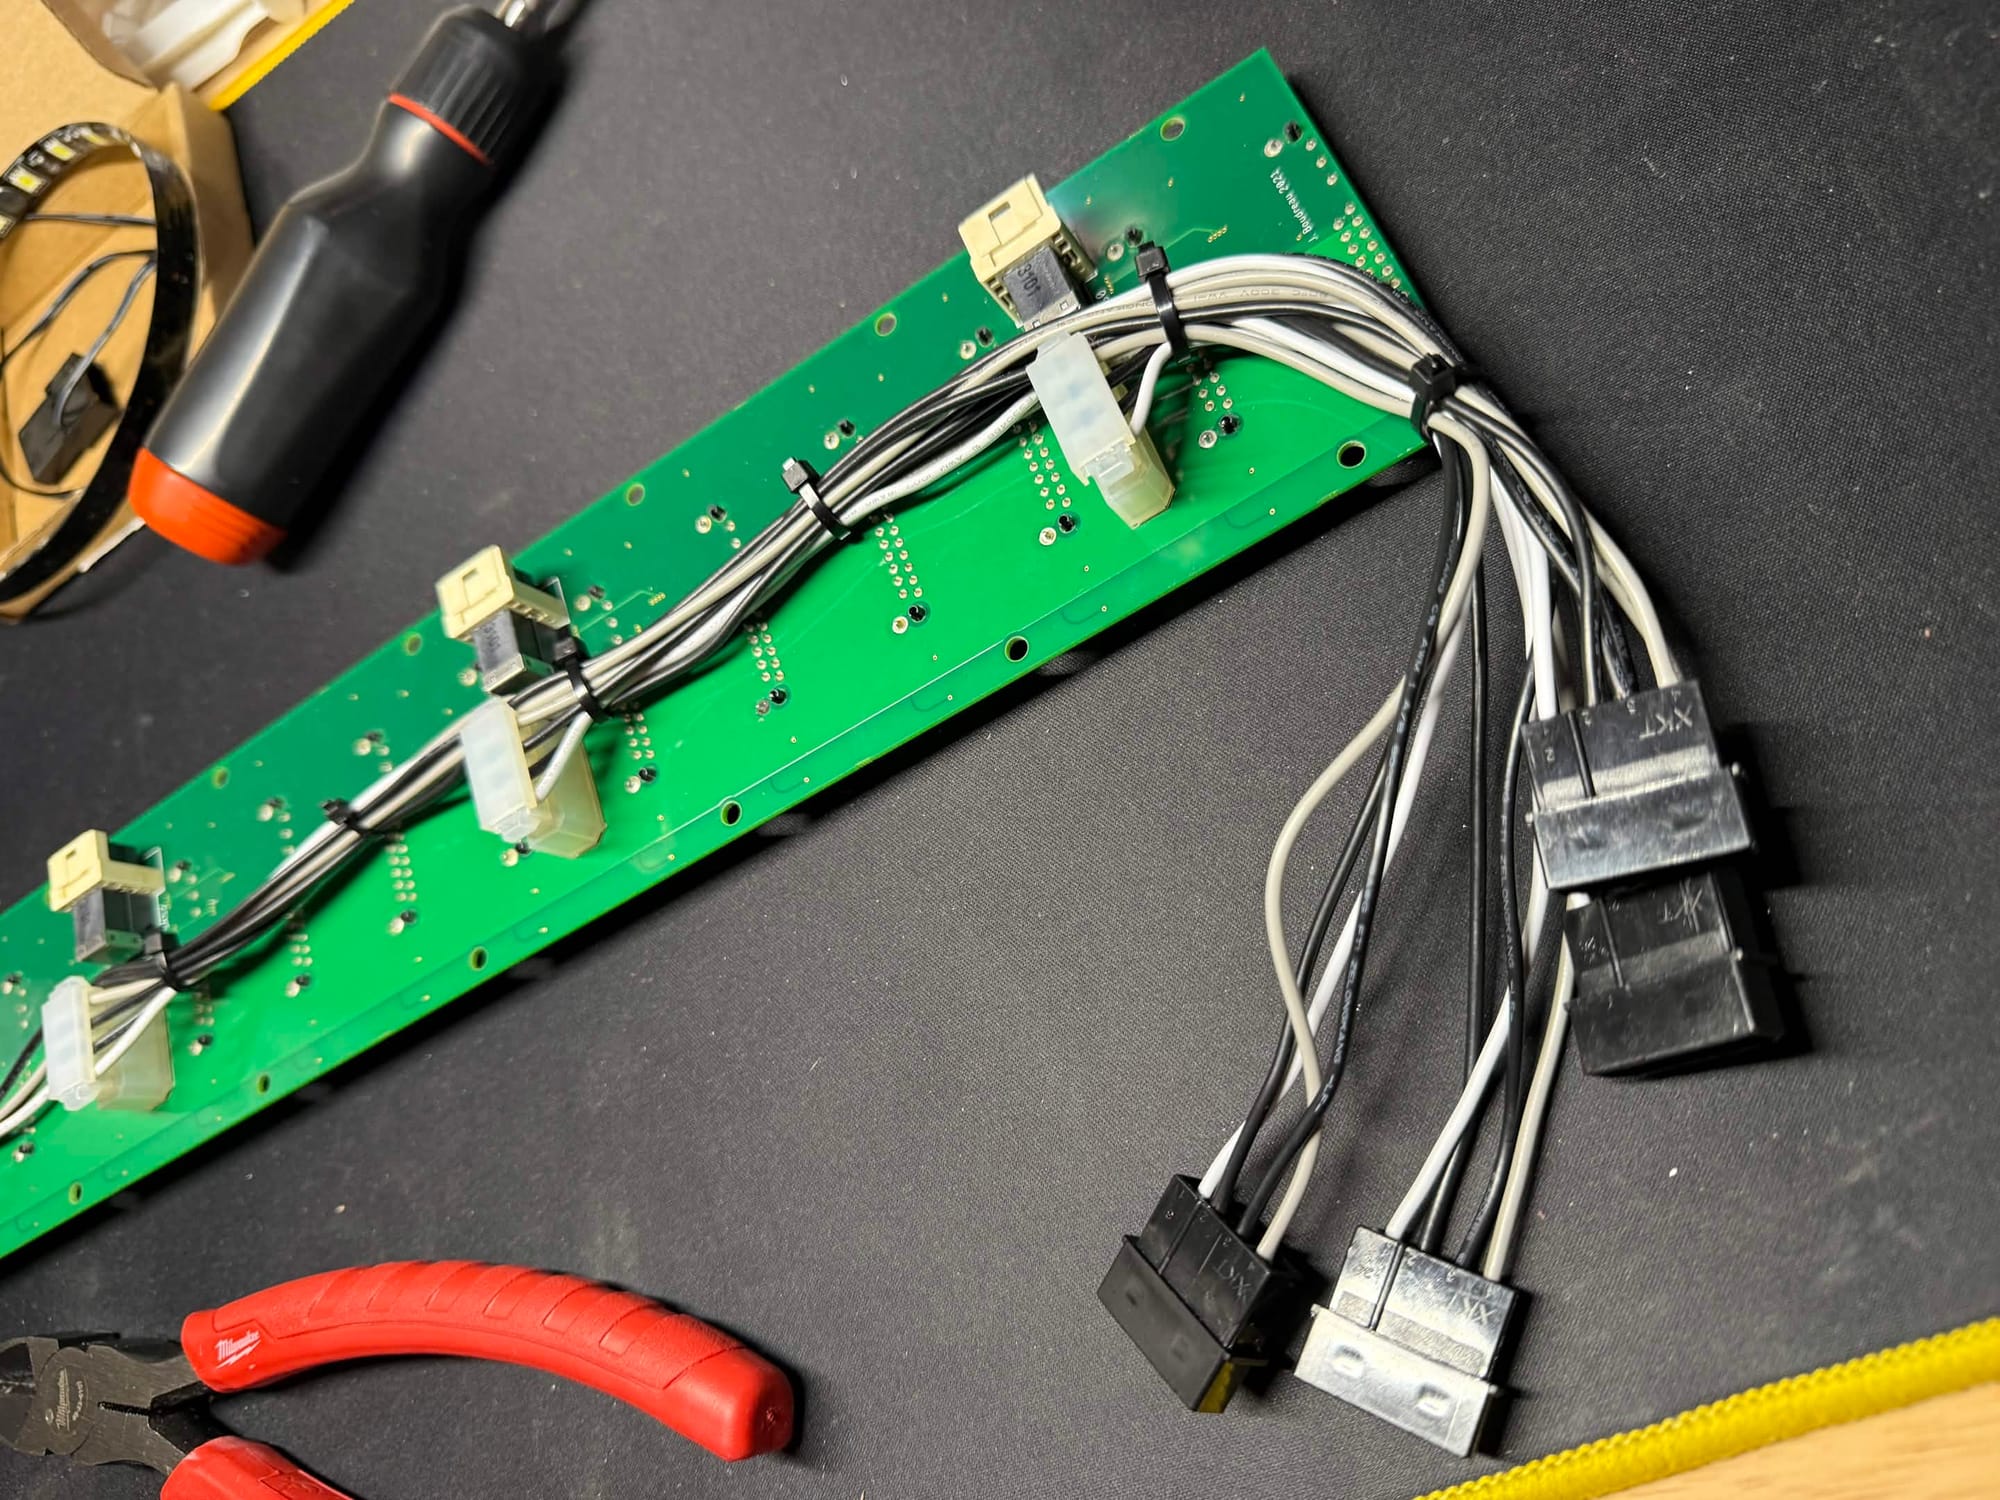
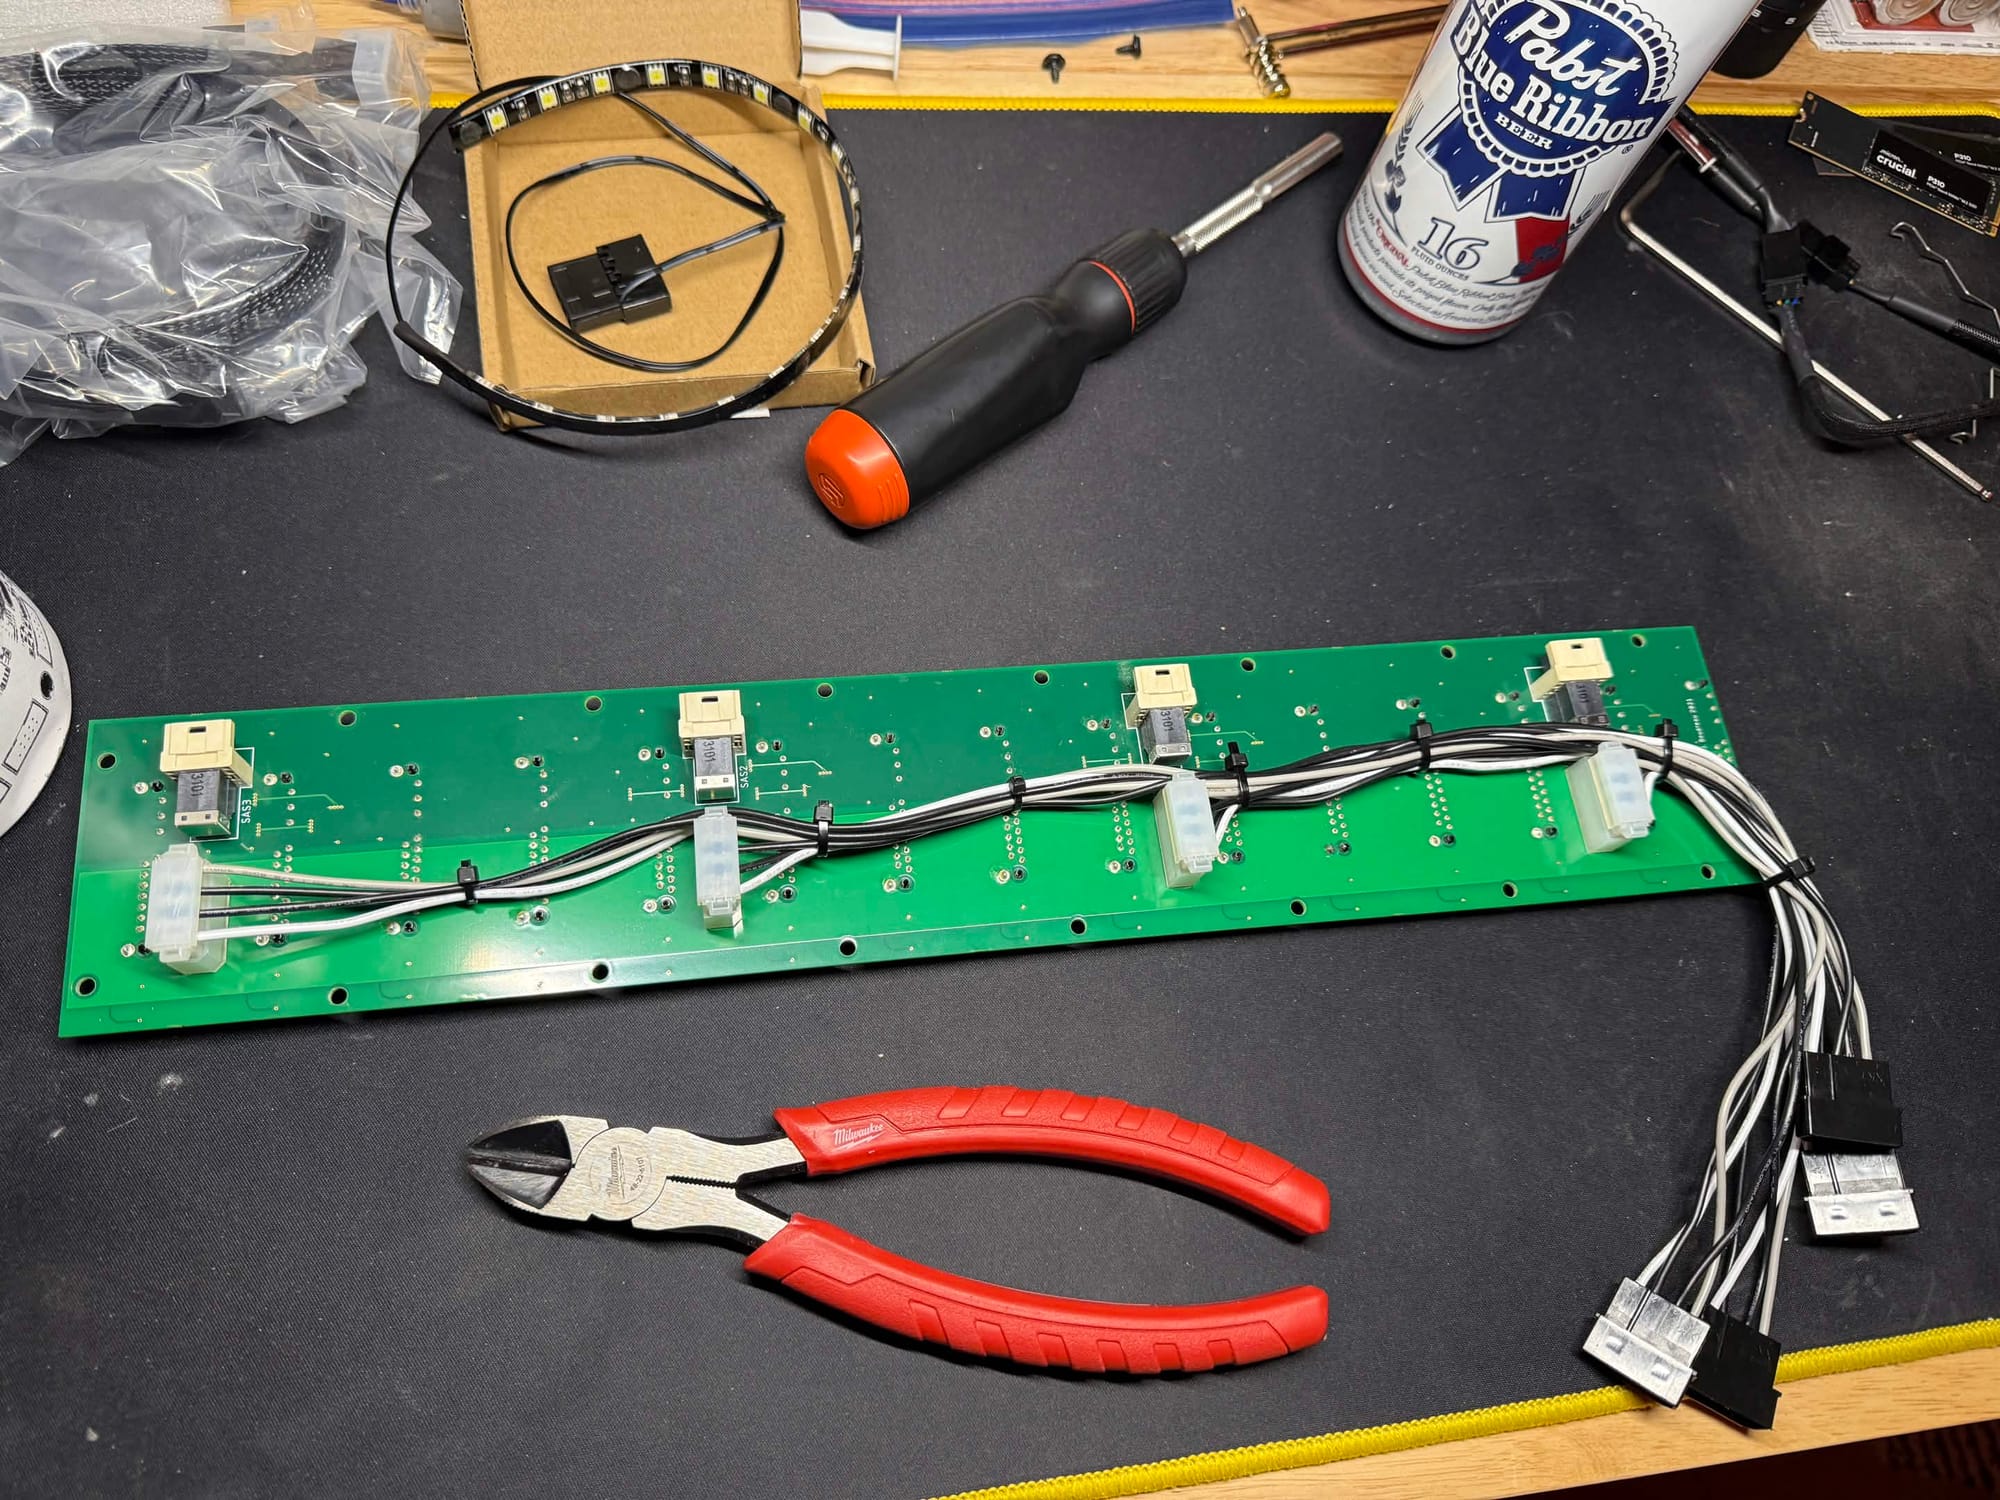
Pictured: The backplane, re-using the 90° 4-Pin Molex connectors with custom male Molex adapters wired in.
The final obvious issue with doing this is the fans on the HL15 no longer are powered. This was simply solved by removing the 3D printed fan header holders and connecting the Fans directly to the motherboard. The added benefit here is all the fans can also be controlled and ramped up when the added airflow is actually needed. Something I truly believe should be an option out of the box from 45Drives.
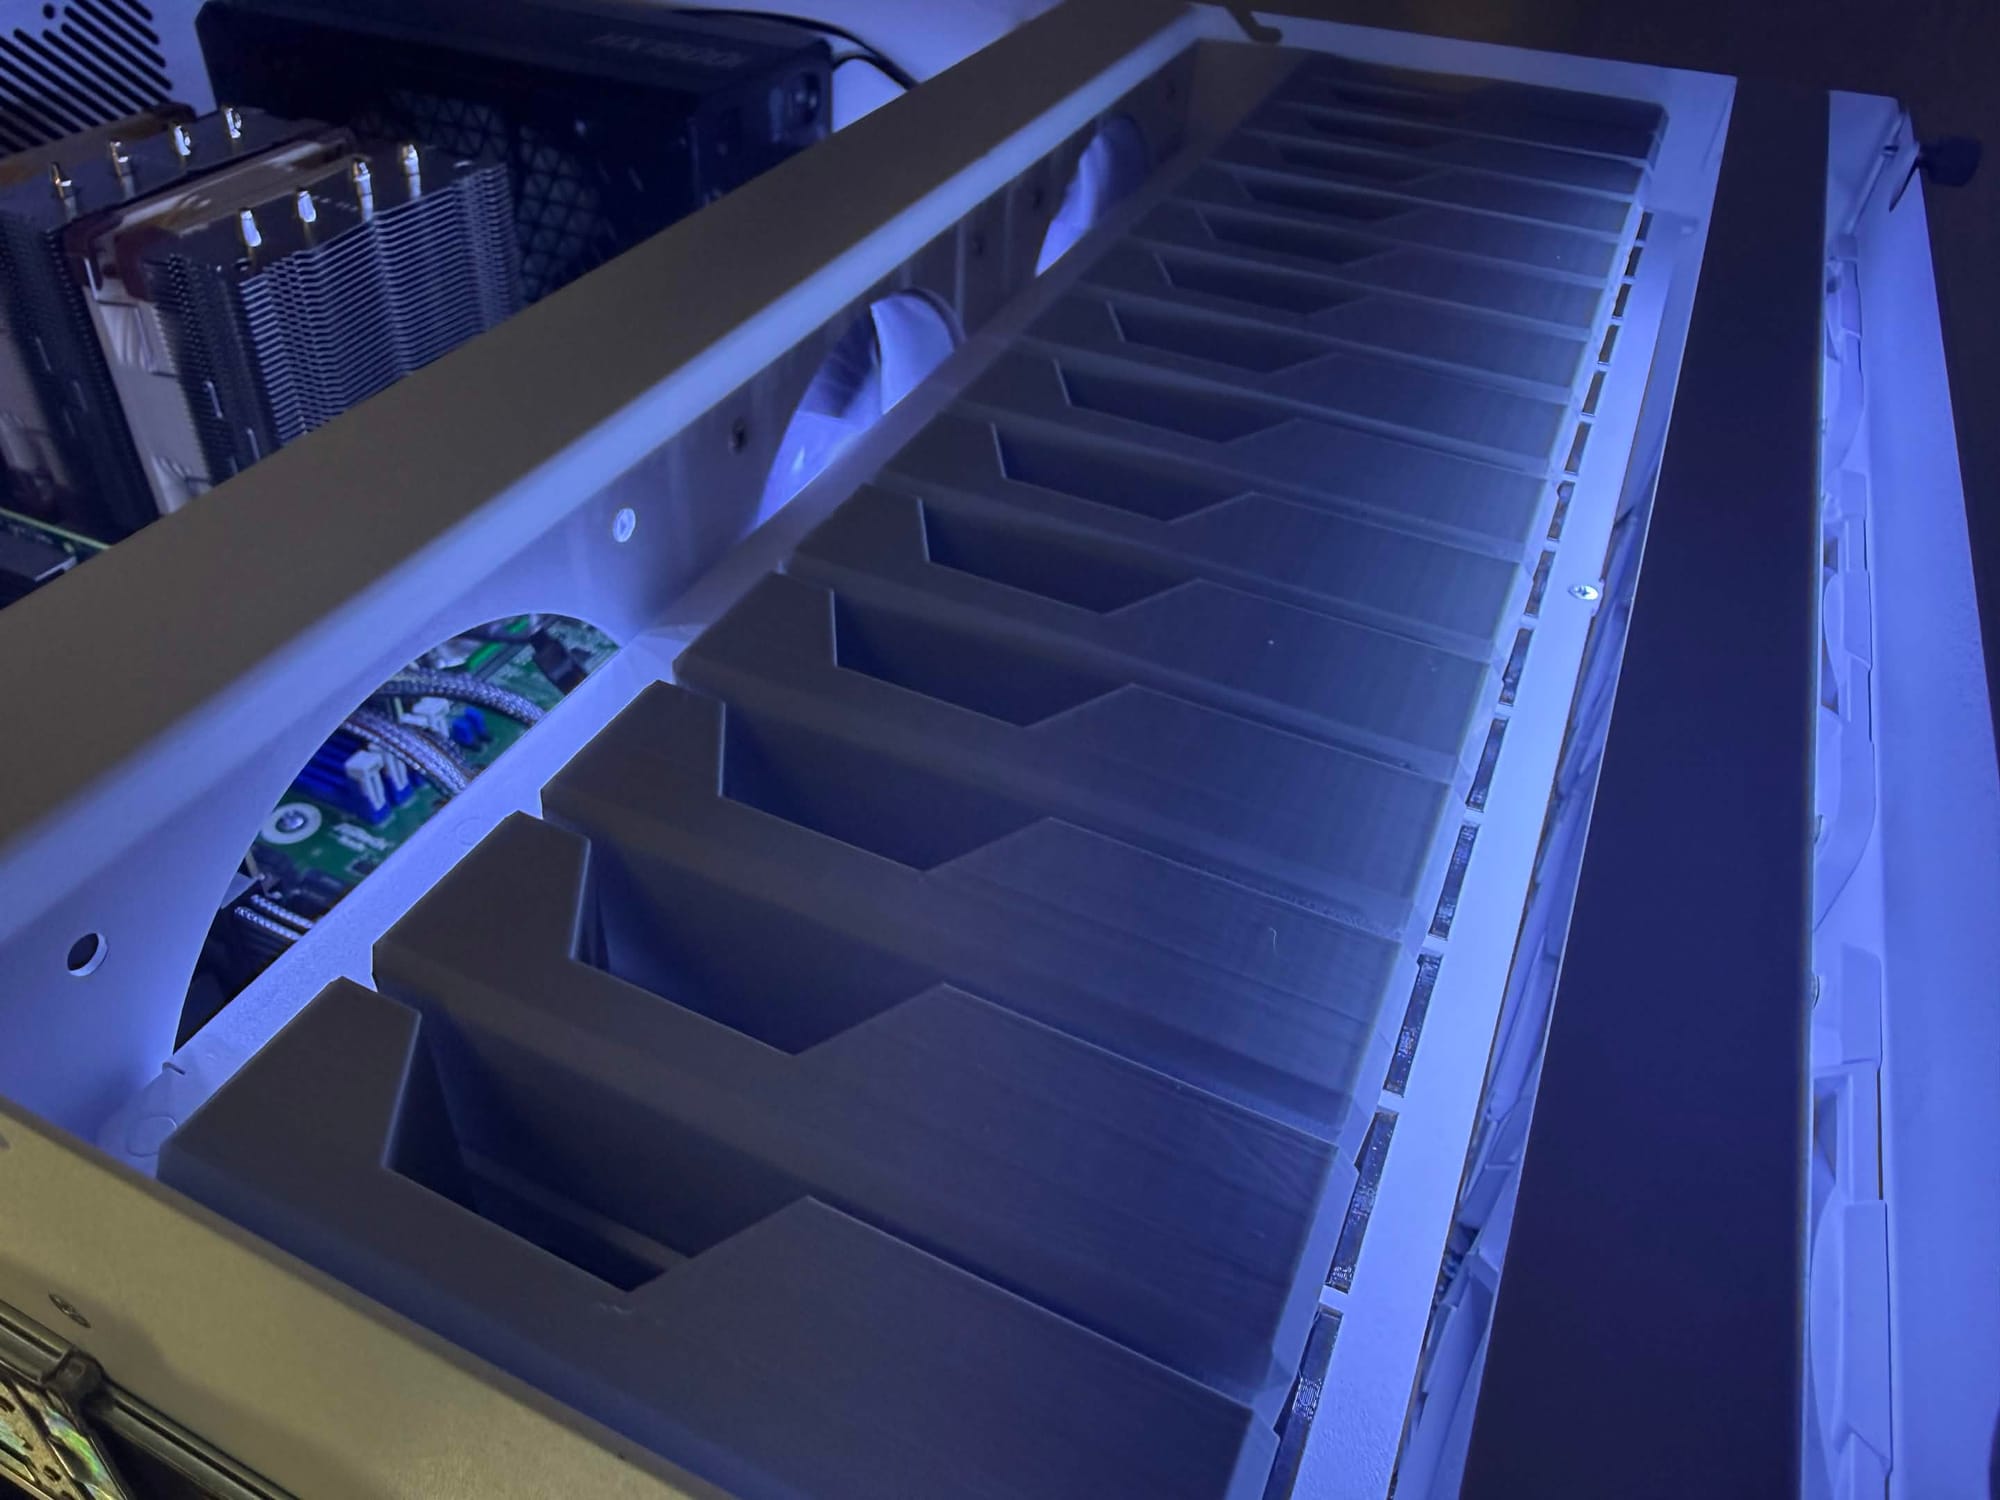
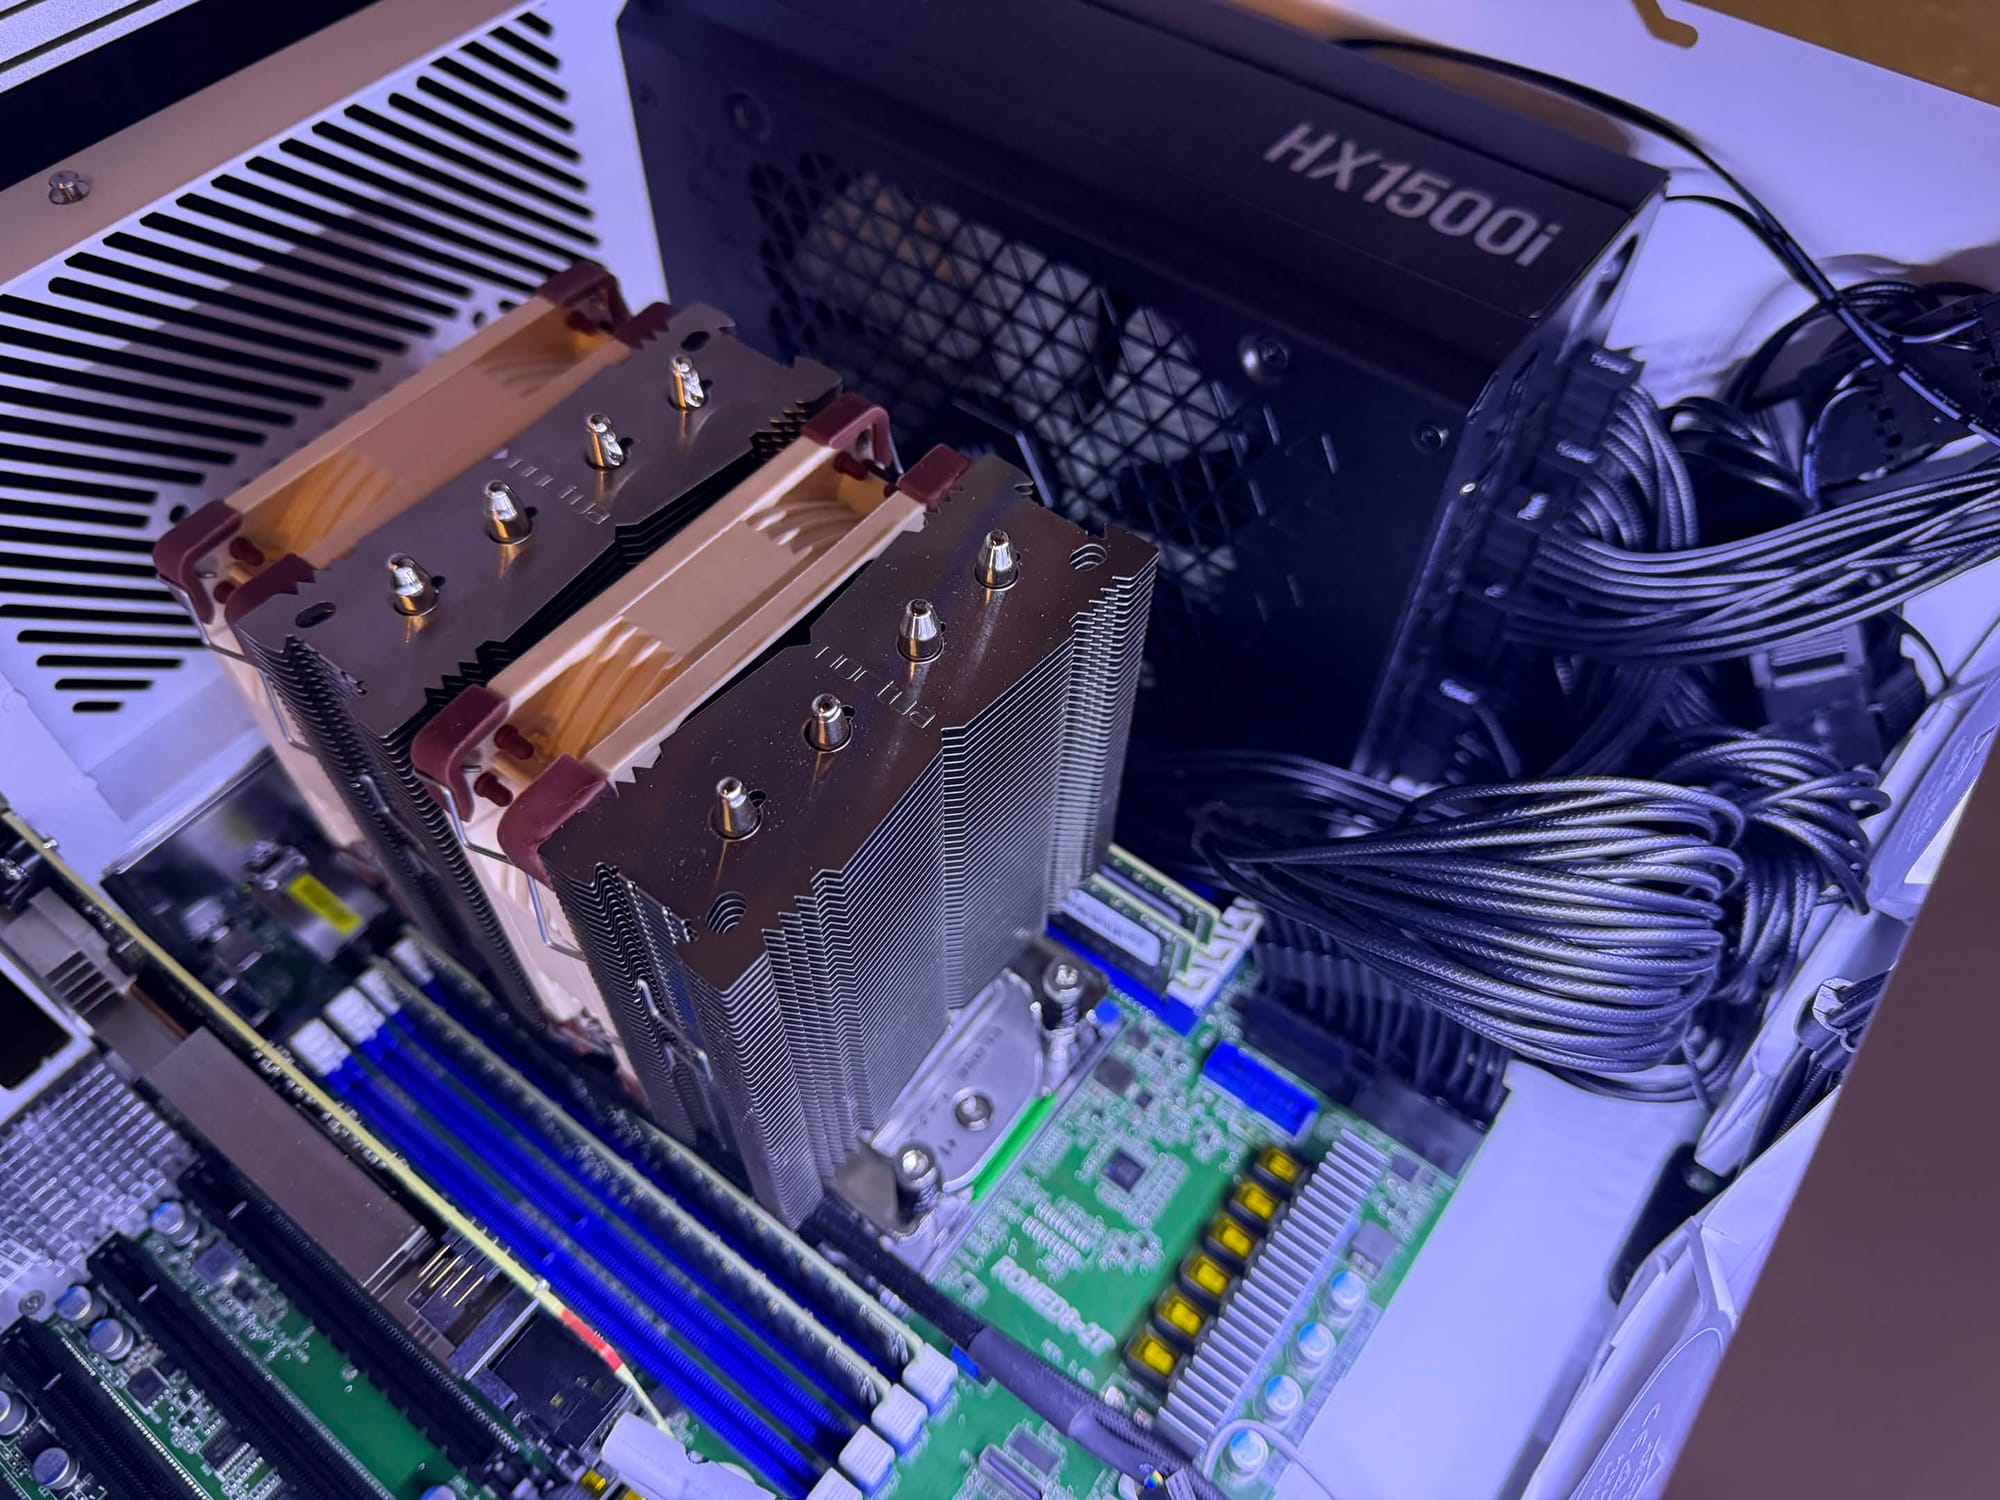

Glam shots of the HL15 build with some added white LEDs
And of course these are the services I am running on my server. All containers and VMs are running on a non-clustered, non-ha, Proxmox Virtual Environment.
- Torrent Container: [LXC]
- Debian 12
- Transmission Daemon Server & OpenVPN.
- This legacy system is a pre-docker, simple, LXC container that acts as a VPN'ed torrent server that is not tied to any automation services and is literally used for downloading ISOs and other large files I may need. Provided torrent downloads are typically MUCH faster than HTTP options.
- Watch Chroma: [LXC]
- Debian 13
- Docker + Portainer + GPU Accelerated
- A steaming platform project that I host the backend for locally called Chroma. A passion project featuring the ex-Caffeine.tv community developed for fun. The encode/decode backend service runs here allowing for inexpensive GPU acceleration.
- Media Container: [LXC]
- Debian 13
- Docker + Portainer + GPU Accelerated
- Plex, Jellyfin, Fladder, Tautulli, and Tauticord are the services running on my media LXC.
- My entire Arr stack.
- Gluetun - A VPN client that supports OpenVPN. It connects to a PIA account to route this stack's internet traffic through.
- qBittorrent 2x - This client handles the downloading of my Linux ISOs. I use 2 of them for different types of content.
- Flaresolverr - A small server that uses chromium via CLI to bypass Cloudflare Turnstile robot verification.
- Overseerr - A client that allows users of my Media servers to request Linux ISOs
- Prowlarr - Indexes specified torrent sites and collects magnet links, saves that information, and allows for fast torrent fetching.
- Unpackerr - Automatically extracts torrents that are downloaded that contain compressed files.
- Radarr 2x - Used for media management. I use two instances for different content.
- Sonarr 2x - Used for media management. I use two instances for different content.
- AI Container: [LXC]
- Debian 13
- Docker + Portainer + GPU Accelerated
- Ollama, Open WebUI, and Comfy UI provide a comprehensive local AI stack that can be used for testing, research, and other local services that can leverage AI such as Home Assistant.
- Docker Container: [LXC]
- Debian 13
- Docker + Portainer + GPU Accelerated
- Zoraxy Reverse Proxy
- A reverse proxy that connections all the following services to the web and more. I am testing this Reverse Proxy at this time.
- IMMICH
- Phone images and video backups. Access to GPU in order to accelerate transcoding.
- Planka
- The best self-hosted Trello clone I have found yet. I use this for project tracking.
- Discord Server Archive
- I maintain a public backup of the streaming service Caffeine.tv since they have shut their doors. This archive can be viewed here.
- Floatplane Downloader
- This is a tool that can be used to automatically download and sort content from subscribed creators on Floatplane. This ties in with both my Plex and Jellyfin servers.
- IT Tools
- IT Tools is a web based multi tool for IT related tasks.
- MeTube
- Self-hosted YouTube video downloader web-based front end for yt-dlp.
- Bar Assistant
- I am a hobbyist bar tender, and this is the best way I have seen to keep cocktail recipes in order. Also offers an entire inventory system that will show you what drinks you can make with your giving ingredients.
- Tandoor
- A recipe management and organization system used by my wife.
- Home Assistant: [VM]
- Dedicated Home Assistant VM installed with Proxmox Helper Scripts. A VM was used rather than an LXC container as there are missing features in a containerized deployment.
- AMP Server: [VM]
- Dedicated Debian 12 VM running AMP. This is a platform that allows for VERY EASY game server deployment. It's so easy in fact that I have been able to create logins for my friends and offload building game servers for my friends directly to them.
Battery Backup:
Finally at the bottom of the server rack, I have an APC Smart-UPS 1500. This is primarily a power conditioner for most of my servers. At some point I will need to get a second UPS to handle the load between all the machines but for now this does take care of any potential brownouts I may get.
In the future, this will be replaced with a 240v system as I'll be upgrading power infrastructure.